Developer quickstart
In the previous article, we covered the building blocks of the jambonz system; but you, the developer, are an important component of jambonz as well!
After all, jambonz doesn’t do anything until you write an application for it. In this article, we’ll cover the basics of building applications for jambonz.
jambonz supports both a webhook and a websocket API for creating user applications, as well as a choice of three SDKs you can use. These will be described below.
These are in addition to the REST API that allows you to manage your account, provision phone numbers, and so on.
jambonz includes the following client SDKs:
- Node.js SDK for the websocket API,
- Node.js SDK for the webhook API, or
- NodeRED nodes to build graphical flows in NodeRED
If you are starting out and not quite sure which to use, we recommend websockets. This offers the most flexibility
in building asynchronous applications, which you are likely to need eventually. Also, some advanced features require the websocket API.
So we’ll look at this first.
Building a jambonz application using websockets
Let’s use our npx application generator to scaffold a websocket application.
This tool will let us scaffold out a new application using one of several scenarios.
Let’s start with a basic “echo tester” app that performs speech-to-text on the caller’s utterances and repeats it back using text-to-speech. This is a useful little app to test out a new speech engine or verify that a new jambonz system you just provisioned is working properly.
That’s it! You’ve just created your first jambonz application. In fact, you can run it right now if you want:
Now we have a websocket application listening for incoming connections from jambonz on port 3000. You can see that in this case, I am running it on my laptop, but in a production environment, you would typically run this on a server in the cloud, a hosted Node.js service, or in a container — wherever you can run a Node.js application and provide a public URL to access it.
Running on your laptop is fine for development and testing, and you can use a service like ngrok to provide a public URL for your application.
Let’s look at the code before configuring our jambonz server to connect to this application.
The main app.js file is boilerplate code that you will rarely need to change, but let’s take a quick look at it:
It sets up a websocket server listening on port 3000 by default.
The handlers for various URL paths can be found in the lib/routes folder. This is where you can find the actual application logic. Let’s take a look at the echo.js file, which implements the ‘echo’ application:
A few things to note about this code:
- line 2: The
makeServicefunction is used to create a service that listens for incoming calls on the/echopath. You can have multiple different services in the same Node.js application, each listening on a different path. - line 4: The
session:newevent is emitted when a new call arrives. It contains a lot of information about the call, including all of the SIP headers, should your application need them. - line 5: By convention, if we want to store any user data with the session, we use the
session.localsobject. - line 9-12: We set up event handlers for asynchronous events that we want to respond to.
- line 15: The ‘session’ object has methods for all the jambonz verbs that you might want to use. In this case, use a gather verb to collect speech from the caller along with a nested say verb to prompt them. When we configure this application in jambonz, we will set the default speech recognizer and text-to-speech engines, but we could override those choices here if we wanted to change the speech vendor for a single turn of the conversation.
- line 22: Having called one or more verb methods on the session, we send them back to jambonz for execution. After this, we are waiting for the next event from jambonz - likely either speech detected, timeout, or caller hangup.
- line 30: When a speech detected event is received, the
onSpeechEventfunction is called. How did this happen? Well, we provided an actionHook of/echoin the gather verb, and we set up an event handler back on line 12 to handle events on the/echopath with theonSpeechEventfunction.
That’s it! The rest of the application is pretty straightforward once you understand the patterns and conventions in the code described above.
Configuring jambonz to use your websocket application
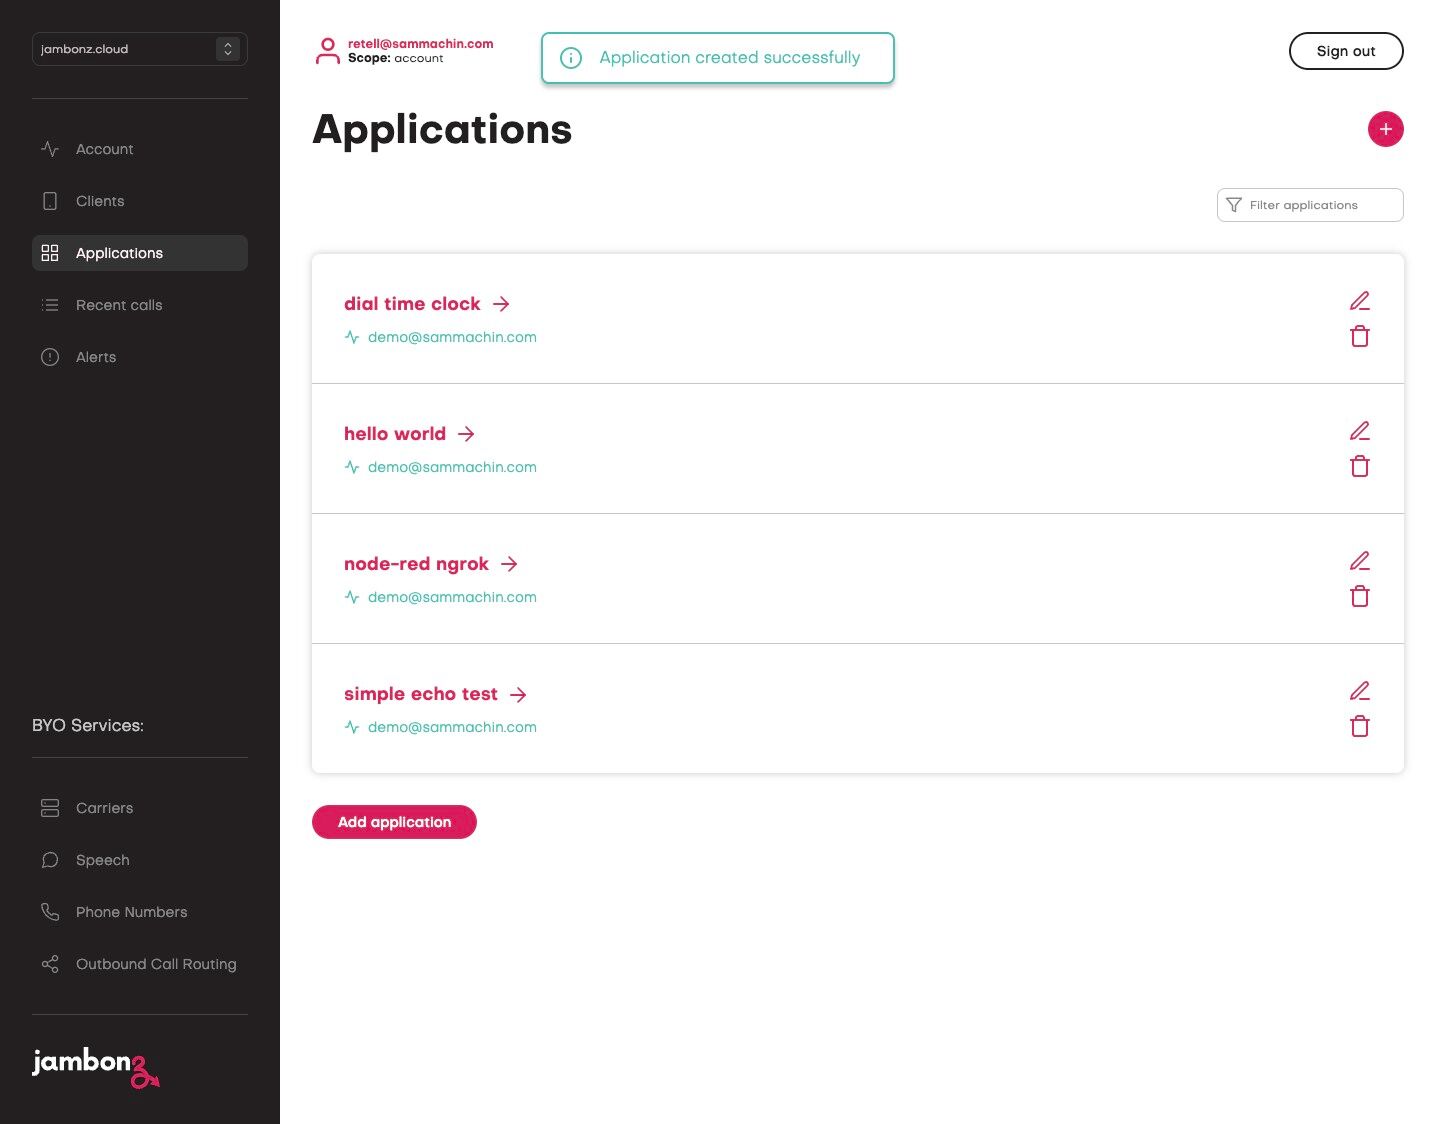
Now that our application is running, we need to configure jambonz to use it. This is done in the jambonz portal by creating a new application.
- Click on Applications in the left-hand navigation, then click the ”+” button.
- Give your application a name, then put your websocket URL in both the
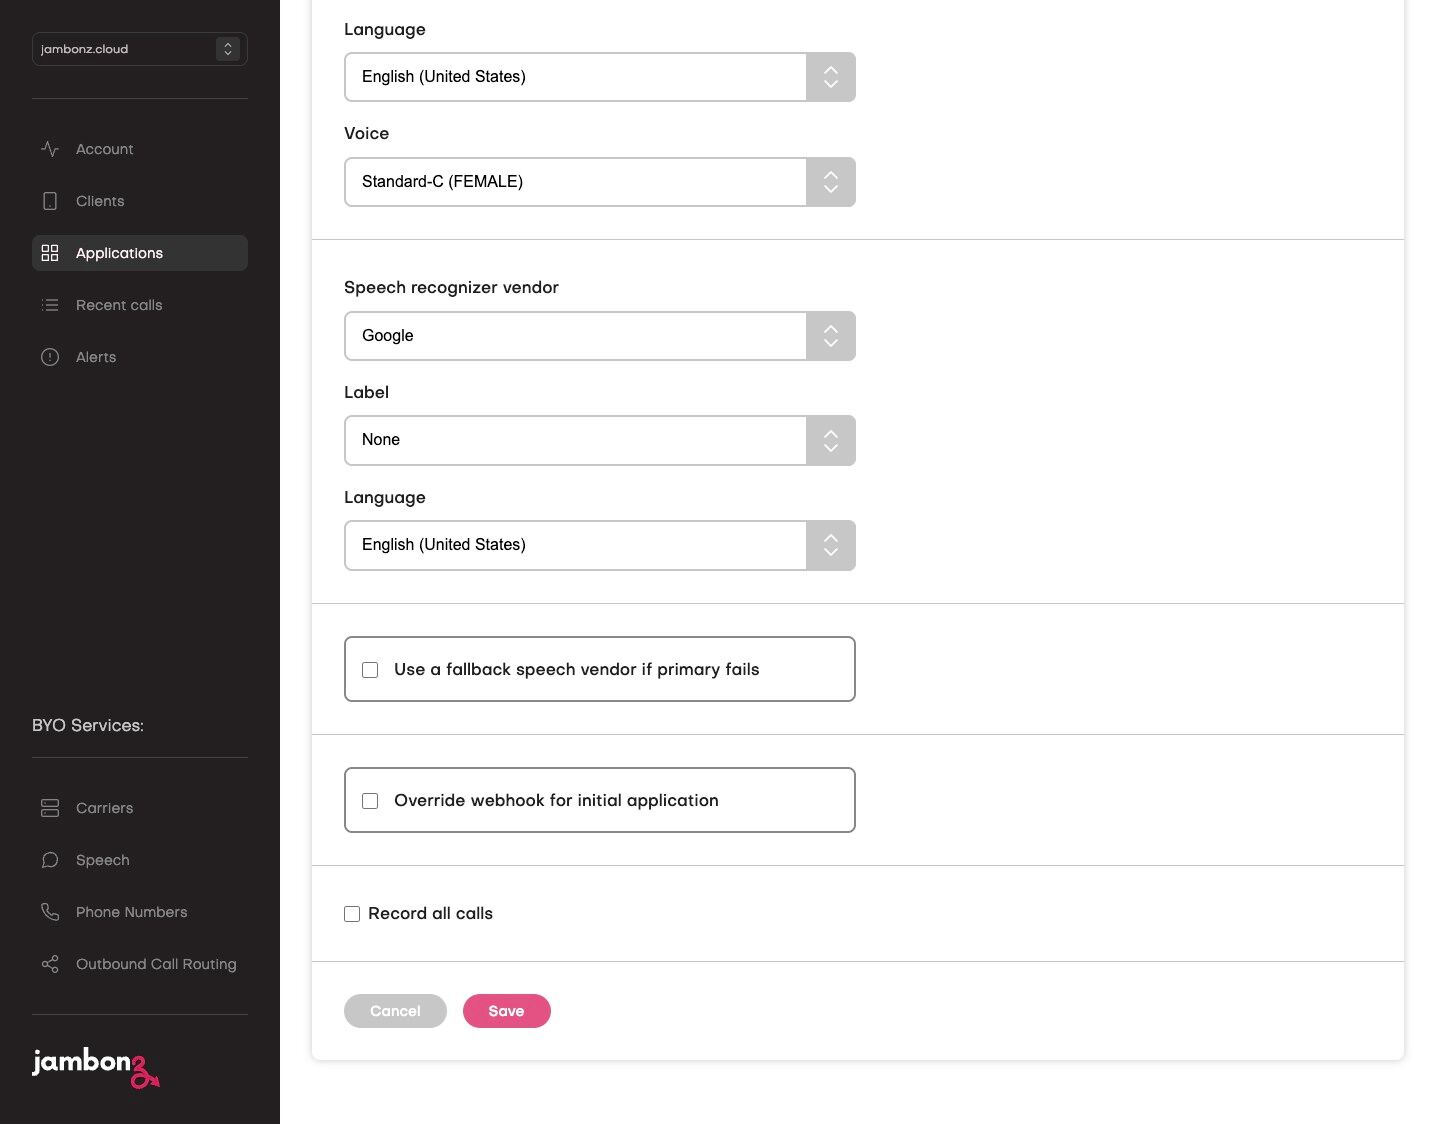
Calling webhookandCall status webhookfields. Your websocket URL needs to start with “wss://” - Select speech vendors for both speech synthesis and speech recognition, then choose voice and language settings.
- If desired, select fallback speech vendors in case the primary vendors fail.
- Click Save.
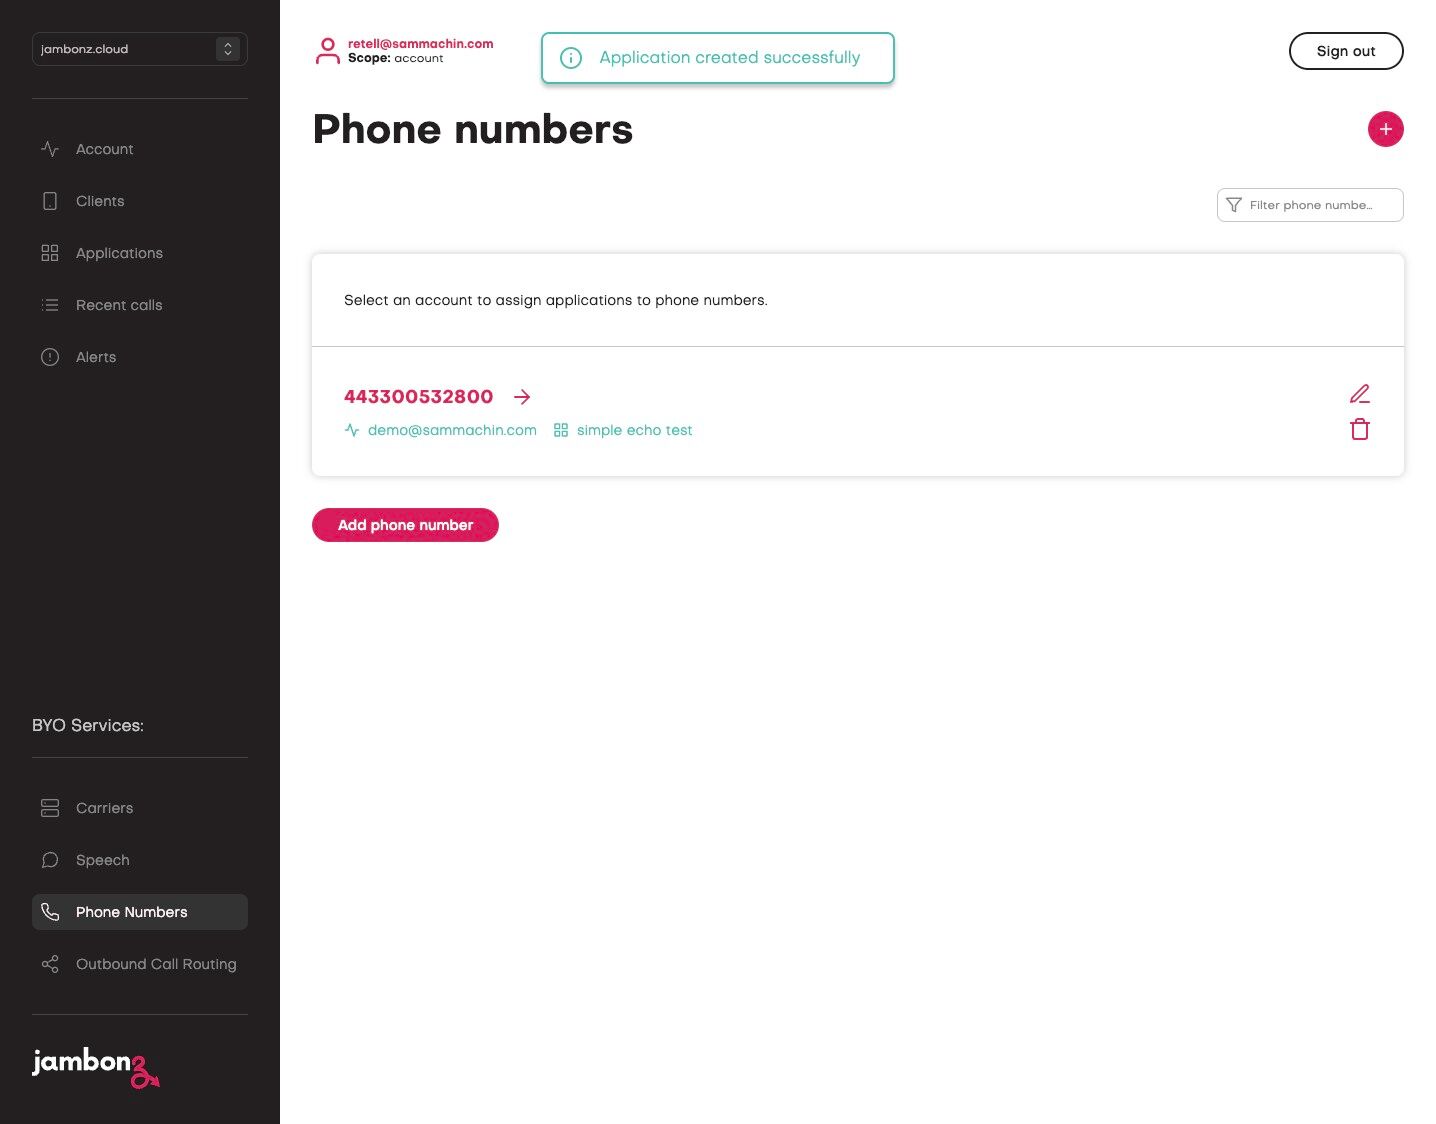
Once your application is saved in jambonz, you can specify a phone number to route to it so that any incoming calls on this number trigger the application:
- Click on Phone Numbers in the left-hand navigation, then click the ”+” button.
- Select the Carrier / originating SIP trunk and enter the phone number.
- Select the application you just created from the dropdown list.
- Click Save.
Your application will be triggered when you call that number, and you can test it out!
Building a jambonz application using webhooks
Now that we’ve seen how to build a websocket application, let’s look at creating a webhook application. A lot of this will look familiar based on what you’ve already seen.
Once again, we’ll scaffold up the app, except this time we’ll use the create-jambonz-app tool instead
of create-jambonz-ws-app:
We’ll create a simple “hello, world” app.
Once again, the app.js is mostly boilerplace that you won’t need to edit, but there are some differences since this is a webhook application instead of a websocket server.
You can see that some additional environment variables are needed. This is because if we need to issue asynchronous requests during the call. We will be using the REST API, which requires an account SID and API key.
The routes are defined in the lib/routes/endpoints folder. Let’s look at the code for “hello-world”:
Note the similarities to the websocket application: in both cases, we have a Session object with methods
corresponding to the jambonz verbs. Running this application is exactly the same as running the websocket application, except that you need to provide
the additional environment variables.
Provisioning the application in jambonz is also similar.
The only difference is that the call status webhook differs from the calling webhook. This is because
each has its own distinct path, as we can see in lib/routes/index.js:
For those you familiar with the express HTTP middleware, this will feel very familiar.
Building a jambonz application using NodeRED
This guide shows you how to install the jambonz package for Node-RED and set up ngrok to allow jambonz to send webhooks to Node-RED running on your local machine. It assumes that you have already:
- Installed Node-RED
- Created an ngrok account
- Set up your jambonz account with a carrier, phone number and speech provider.
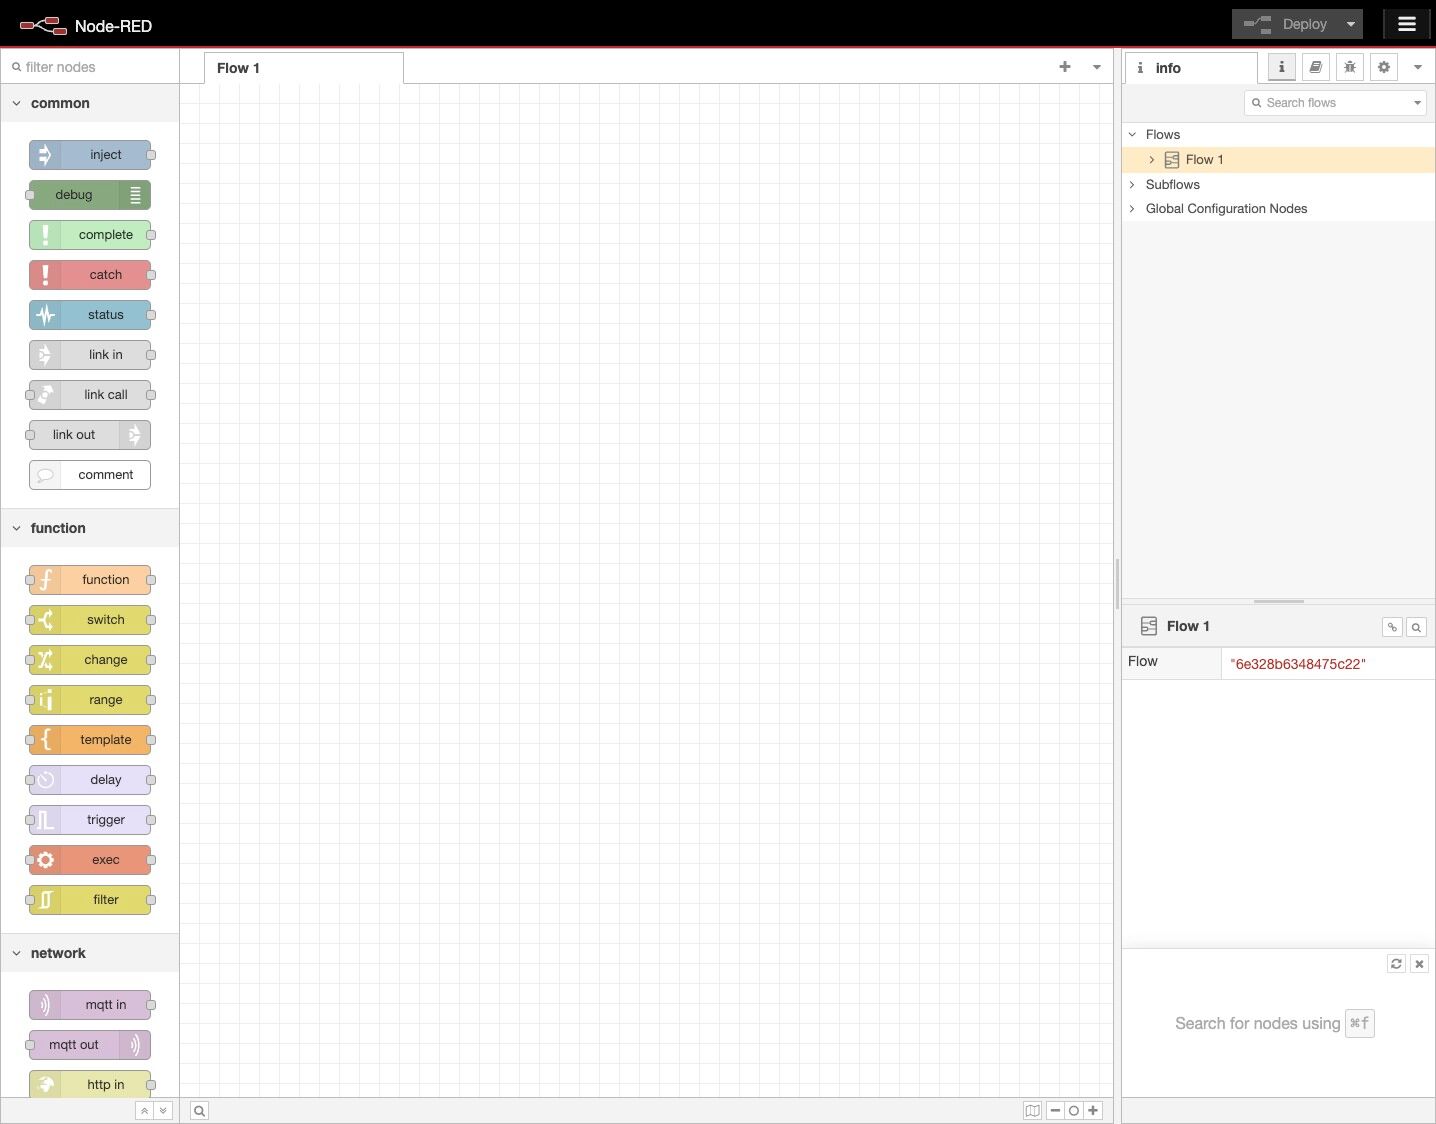
1. Navigate to your Node-RED editor eg http://127.0.0.1:1880/
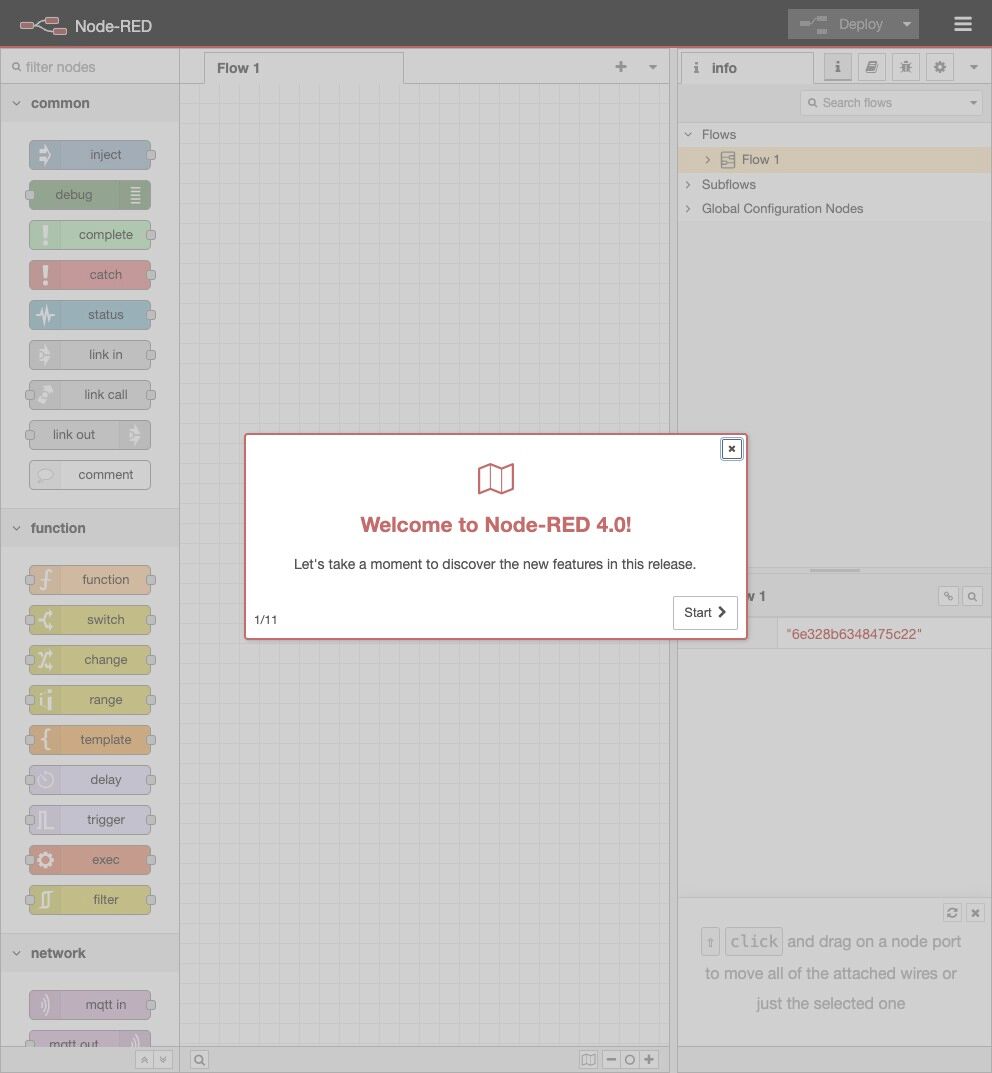
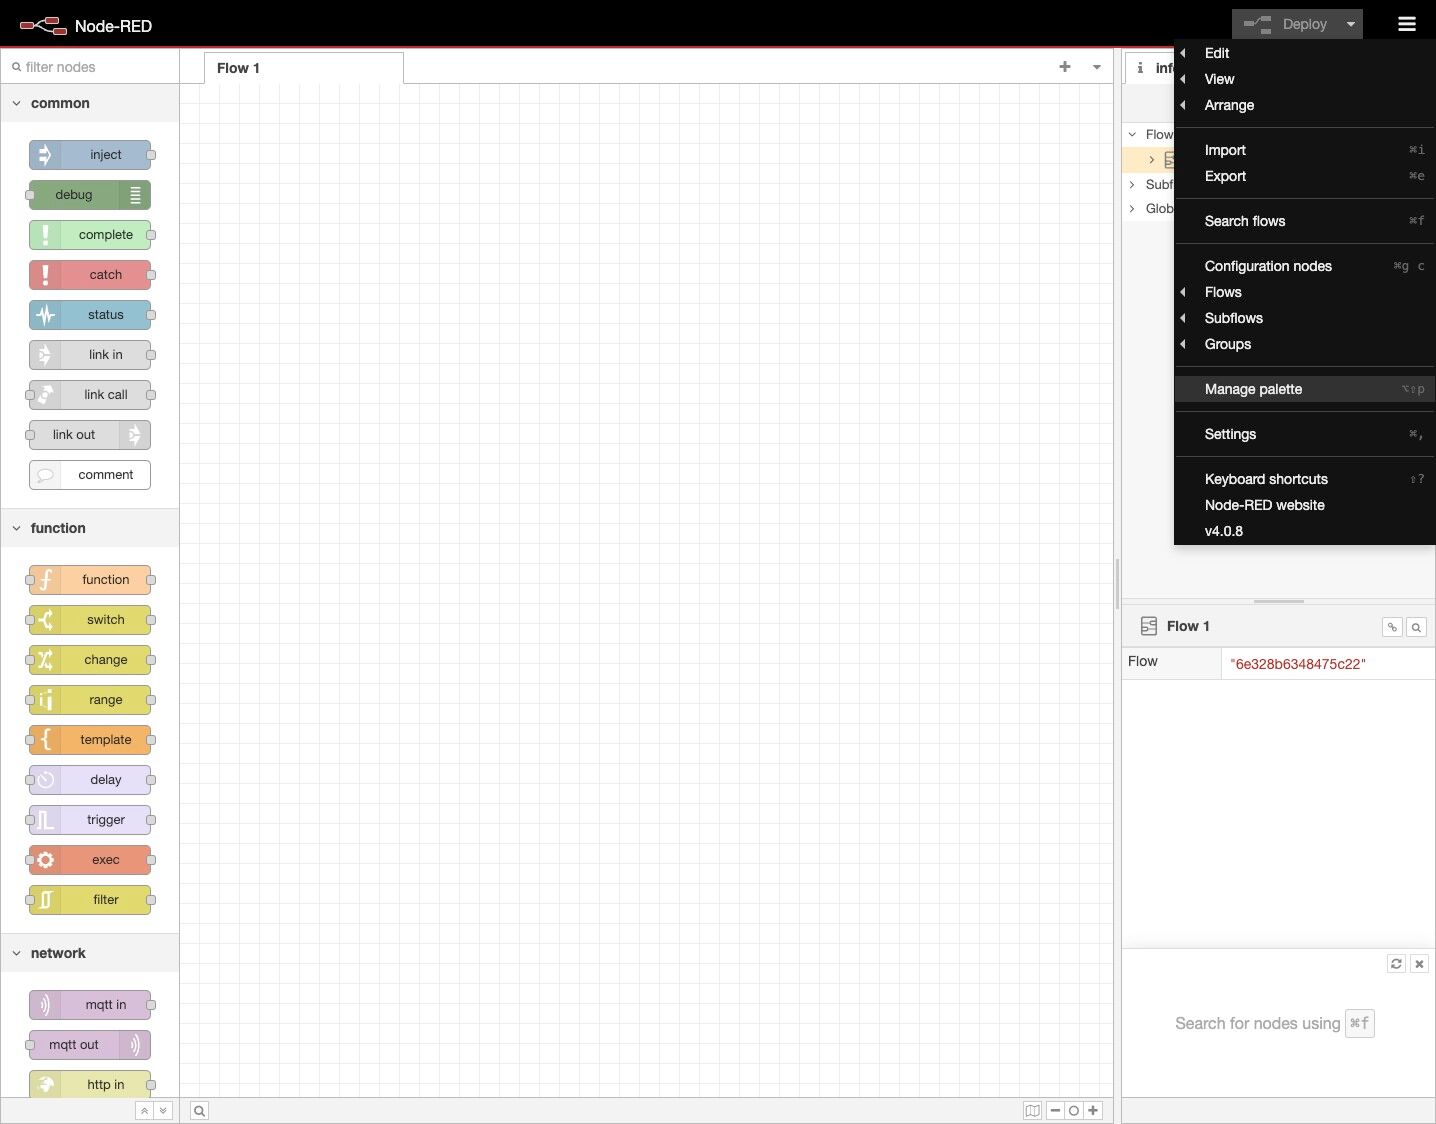
2. Open the Hamburger Menu.
3. Click “Manage palette”.
4. Click the “Install” tab.
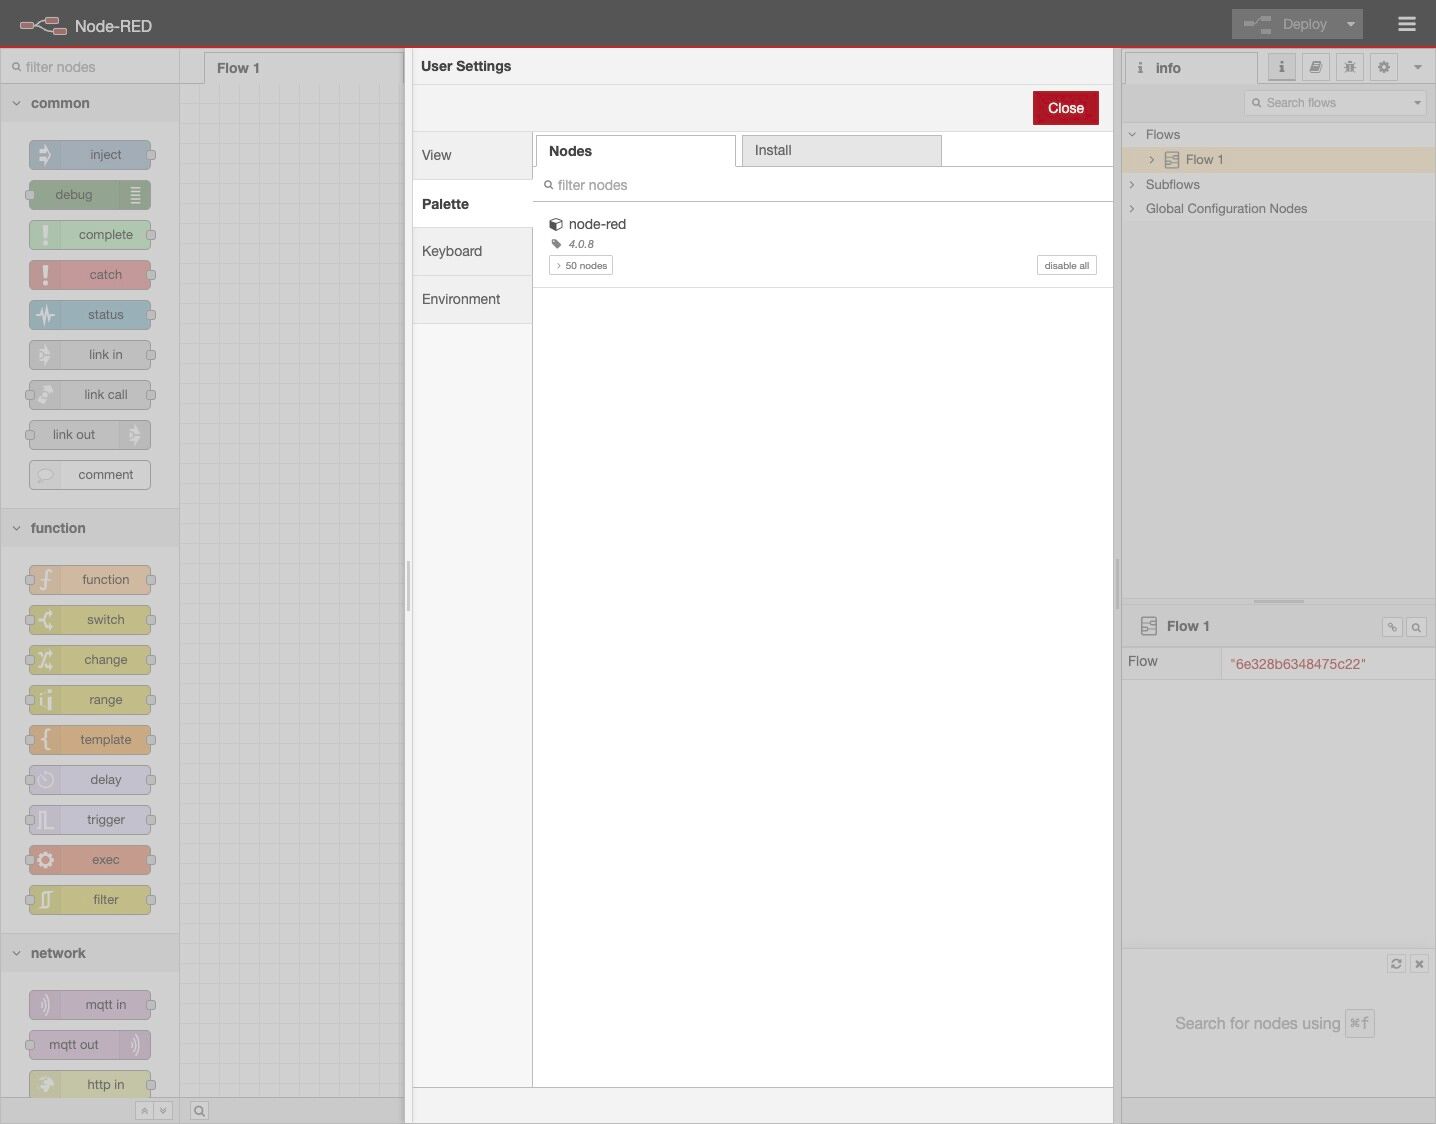
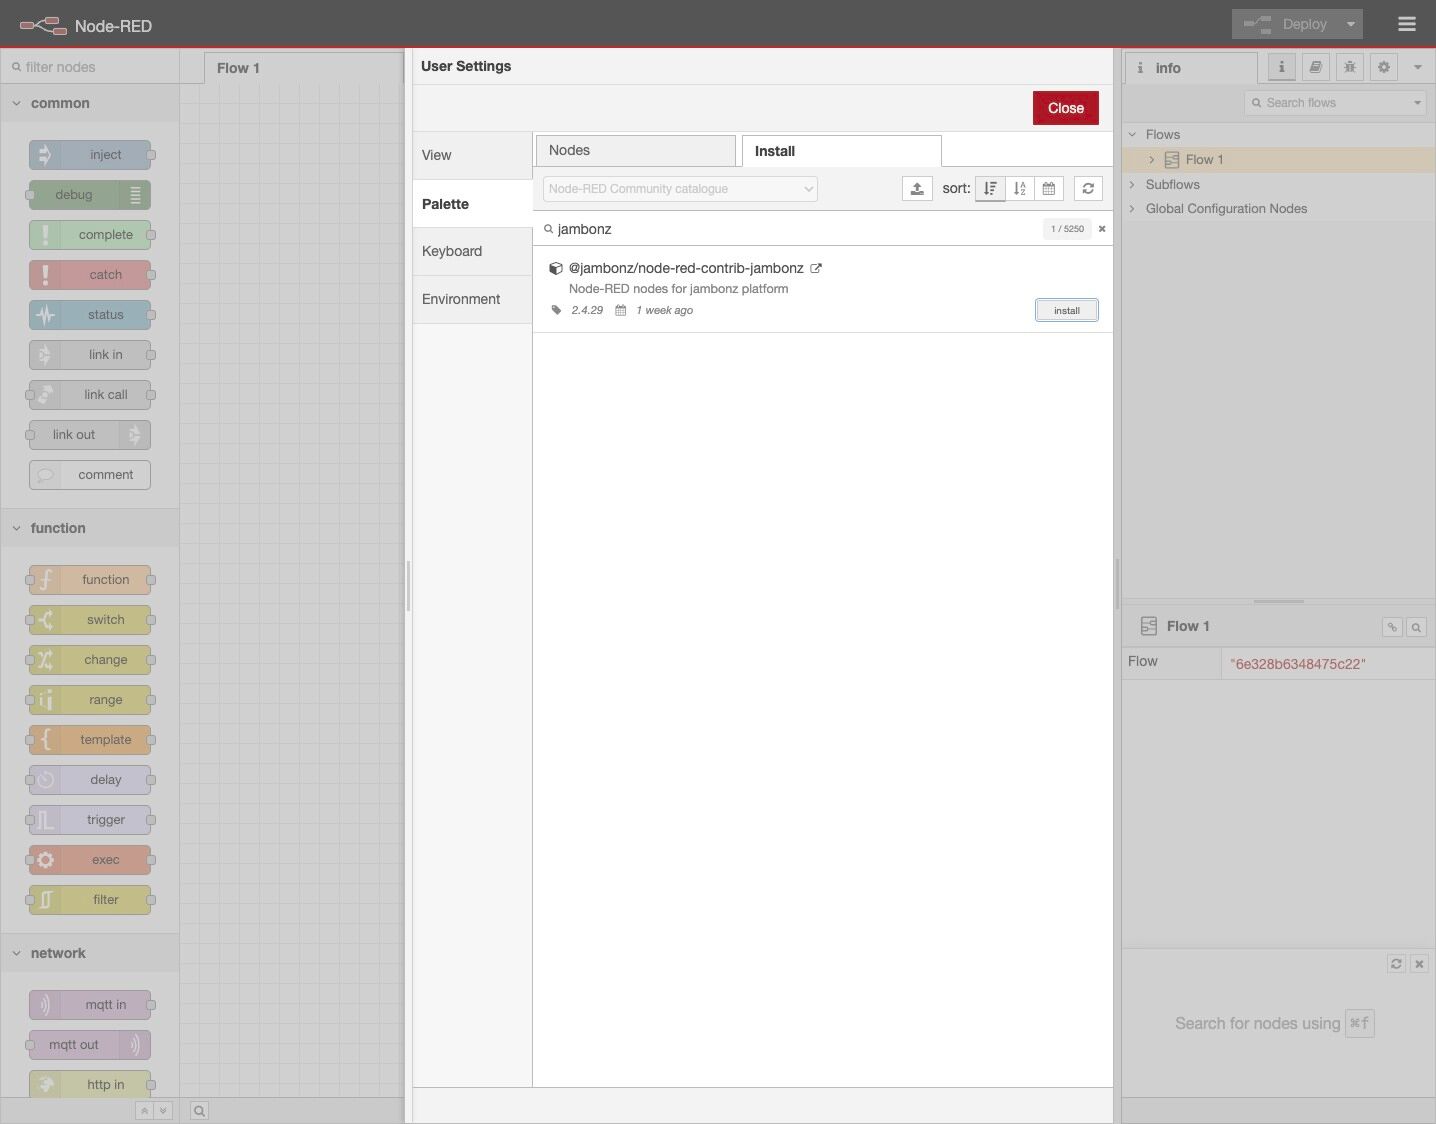
5. Type “jambonz” in the search bar, then click the “install” button.
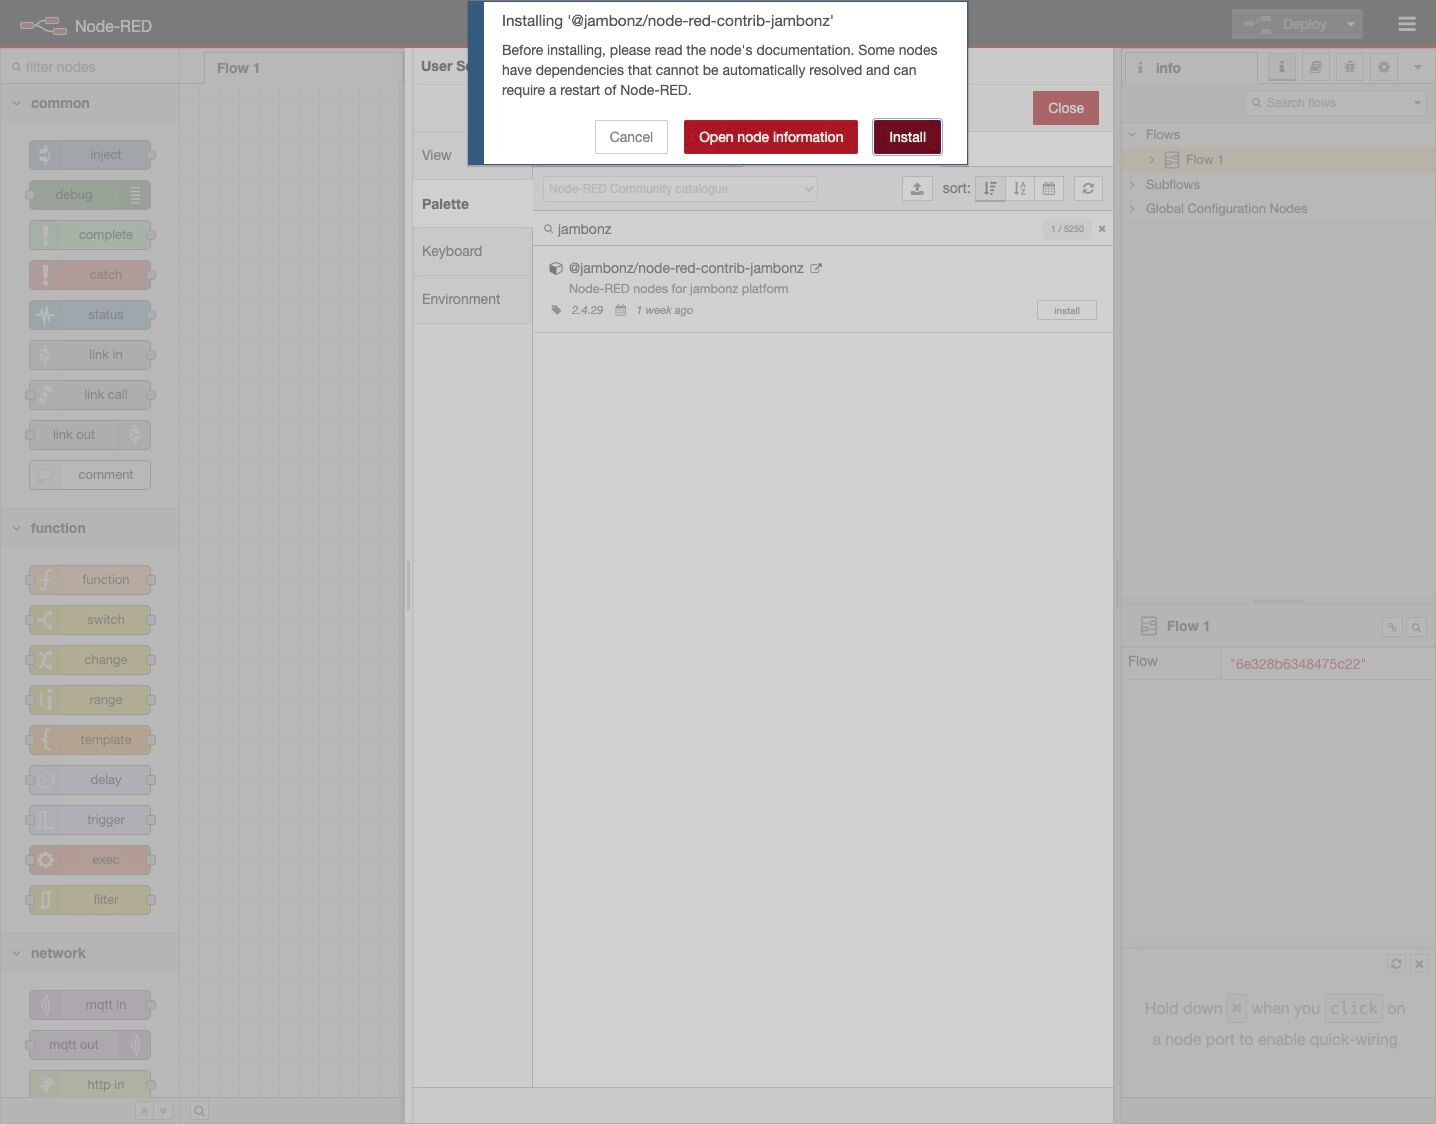
6. Click “Install”.
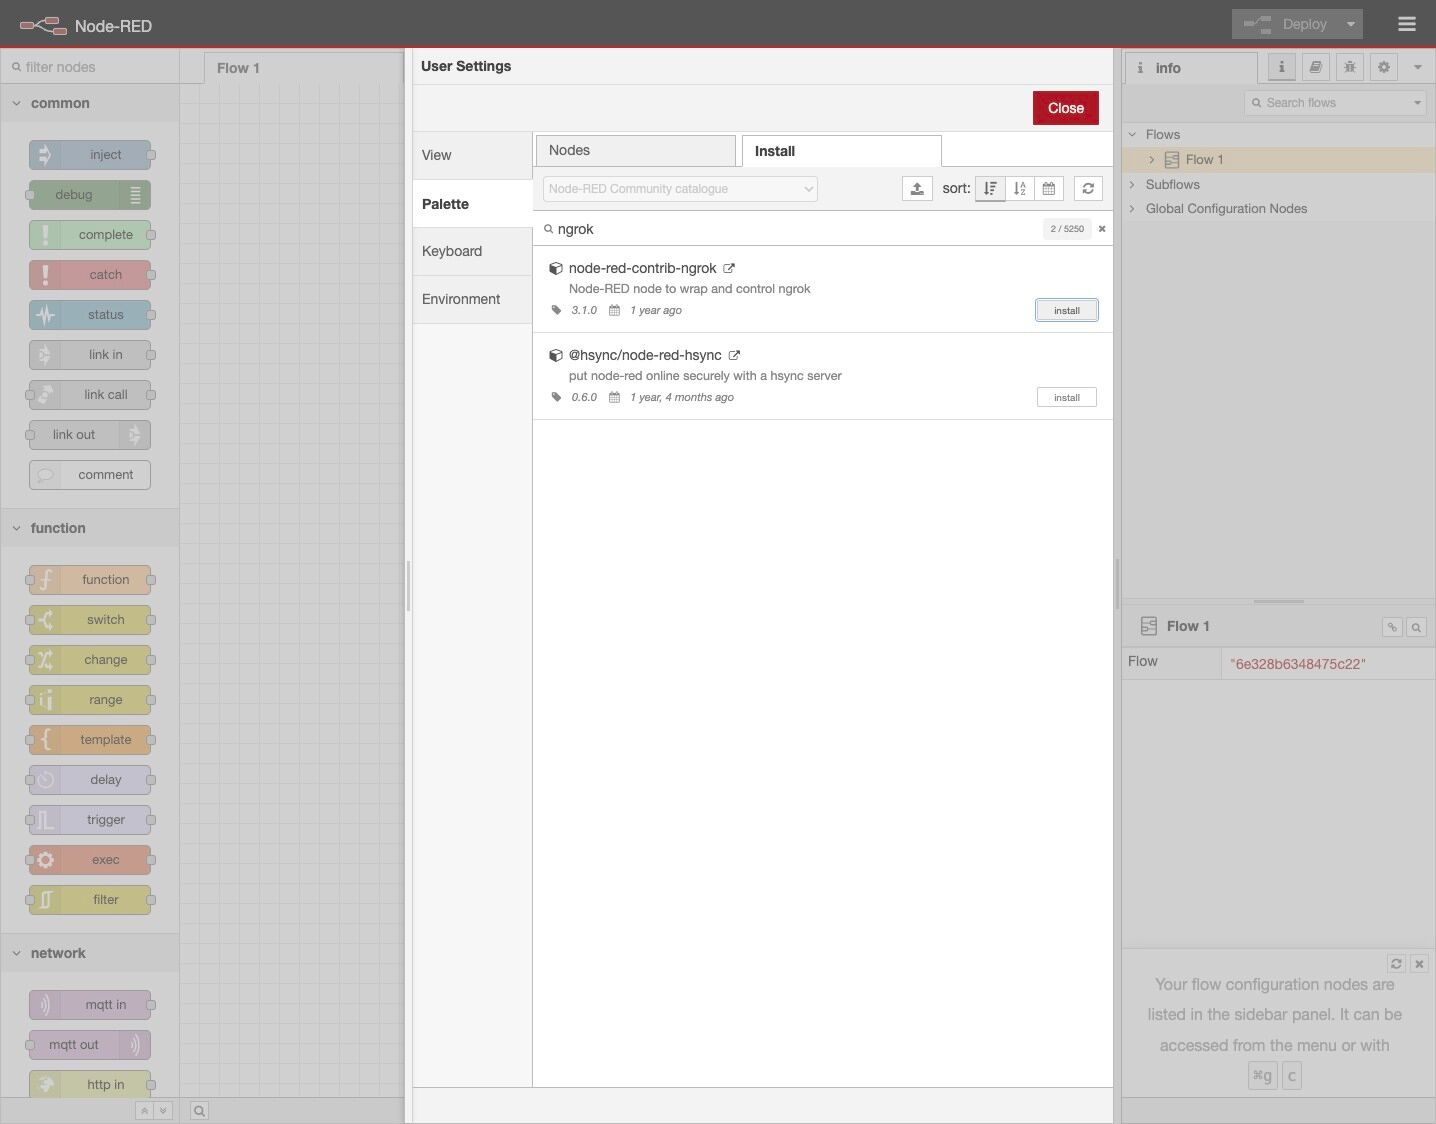
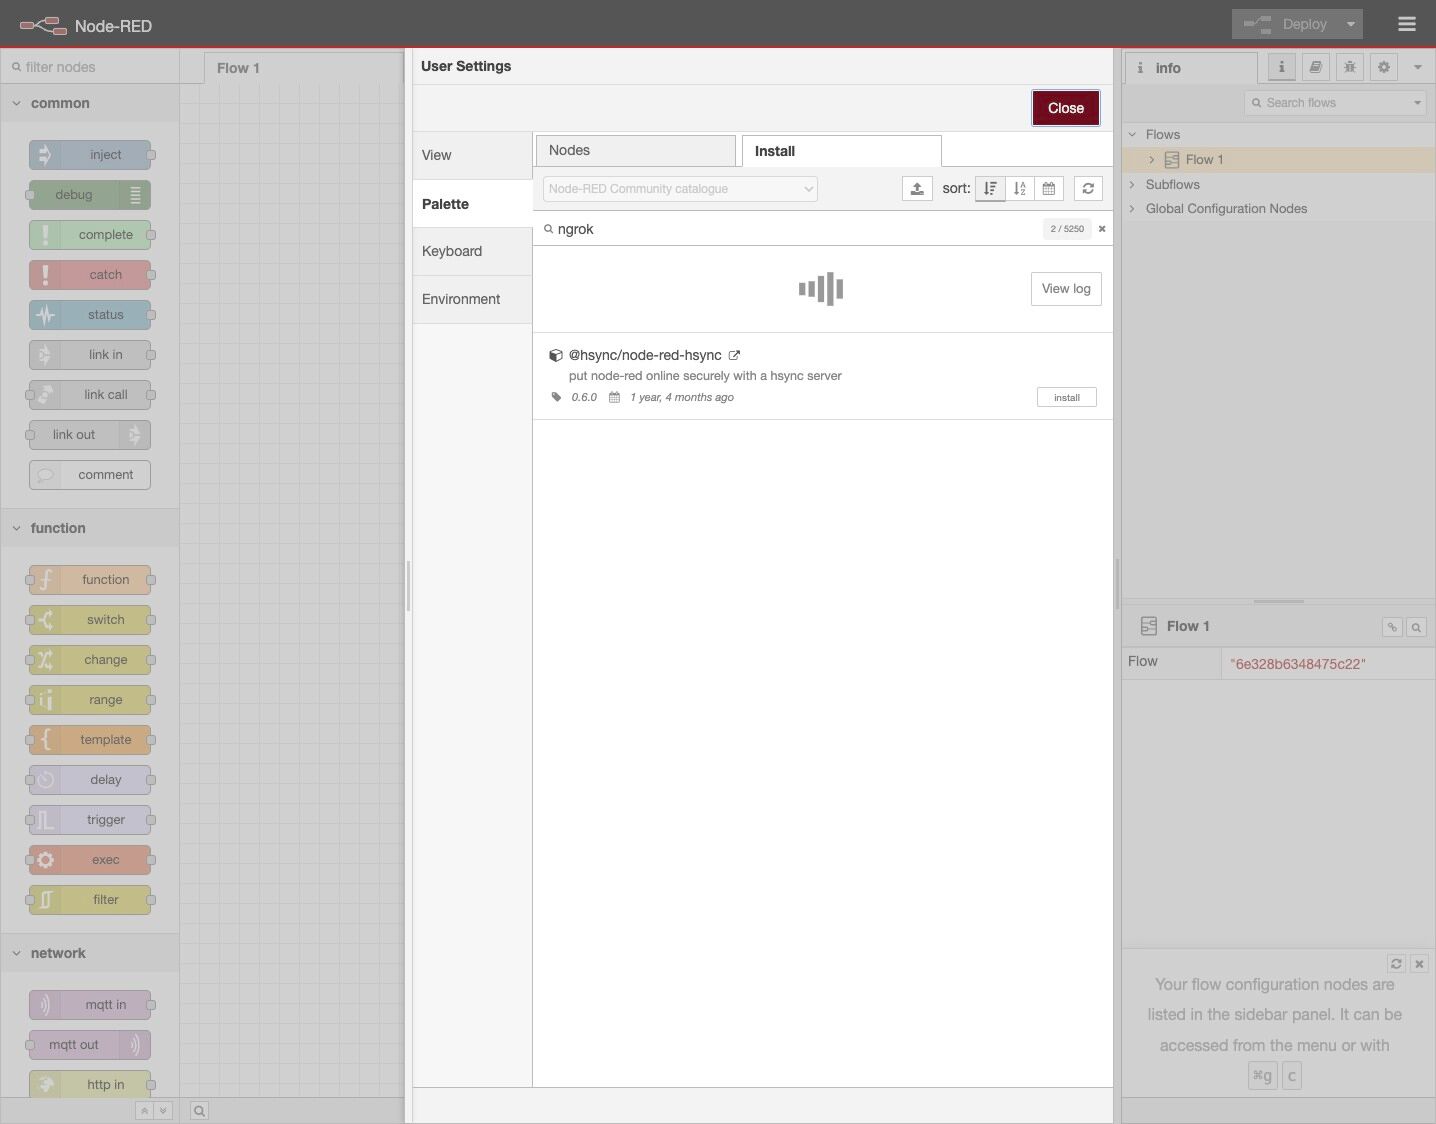
7. Next, install the “ngrok” package in the same way—click “install”.
8. Click “Close”.
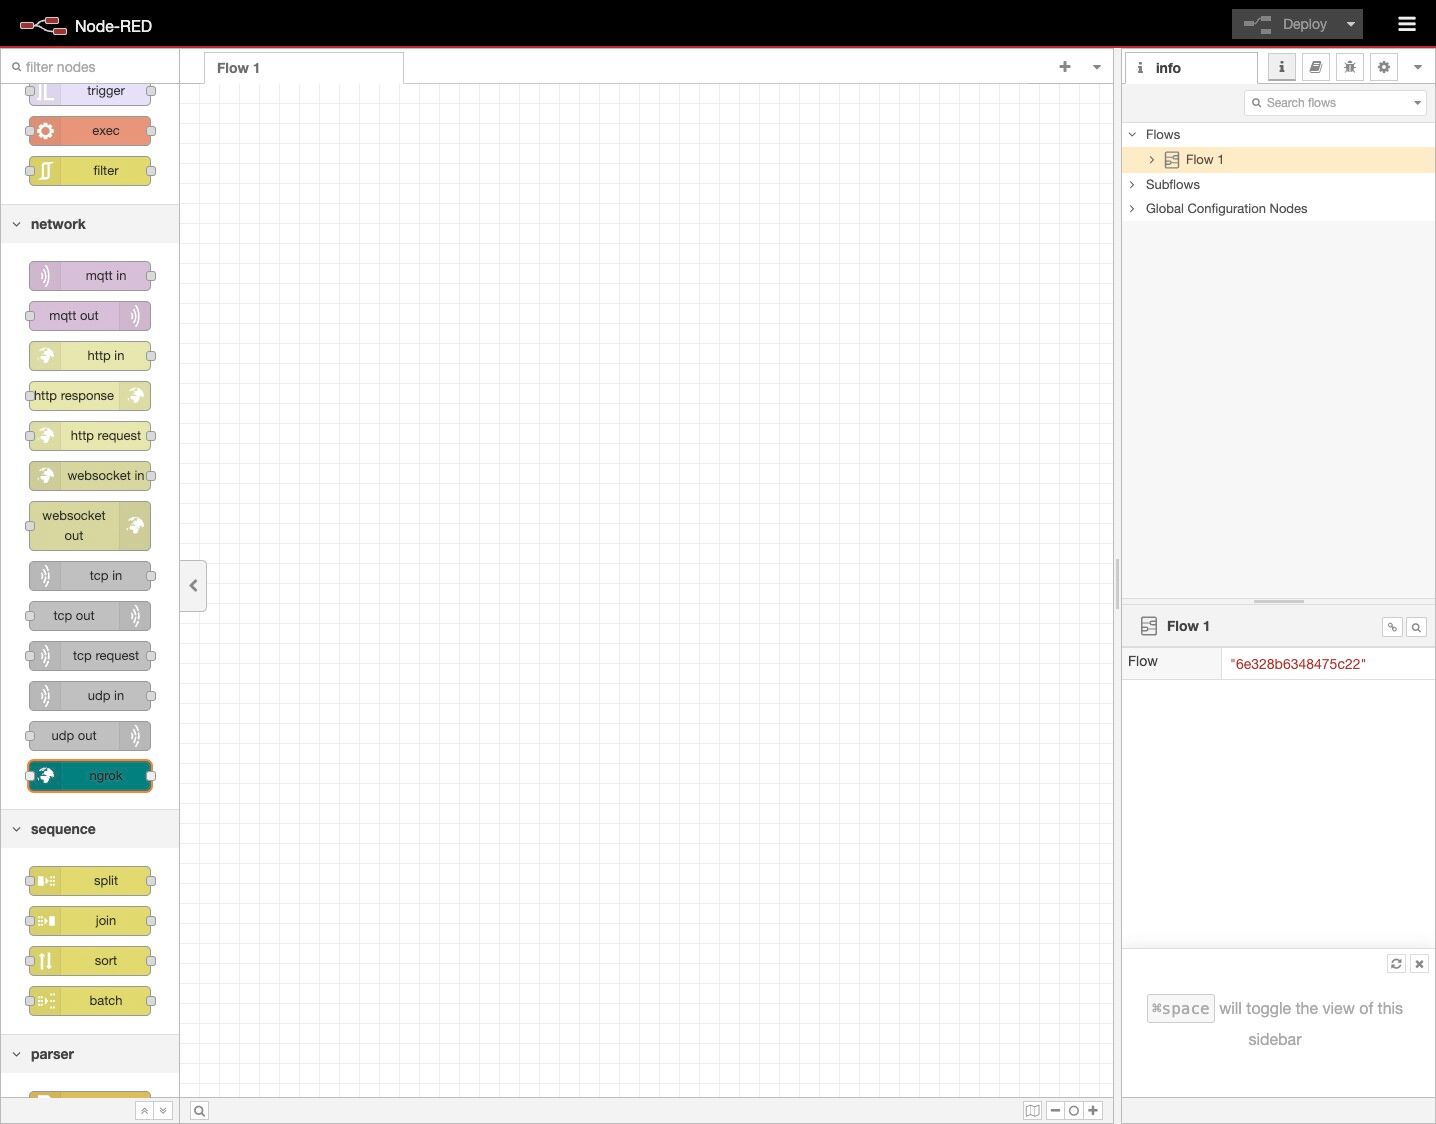
9. On the left-hand side is the palette, scroll down to find the ngrok node.
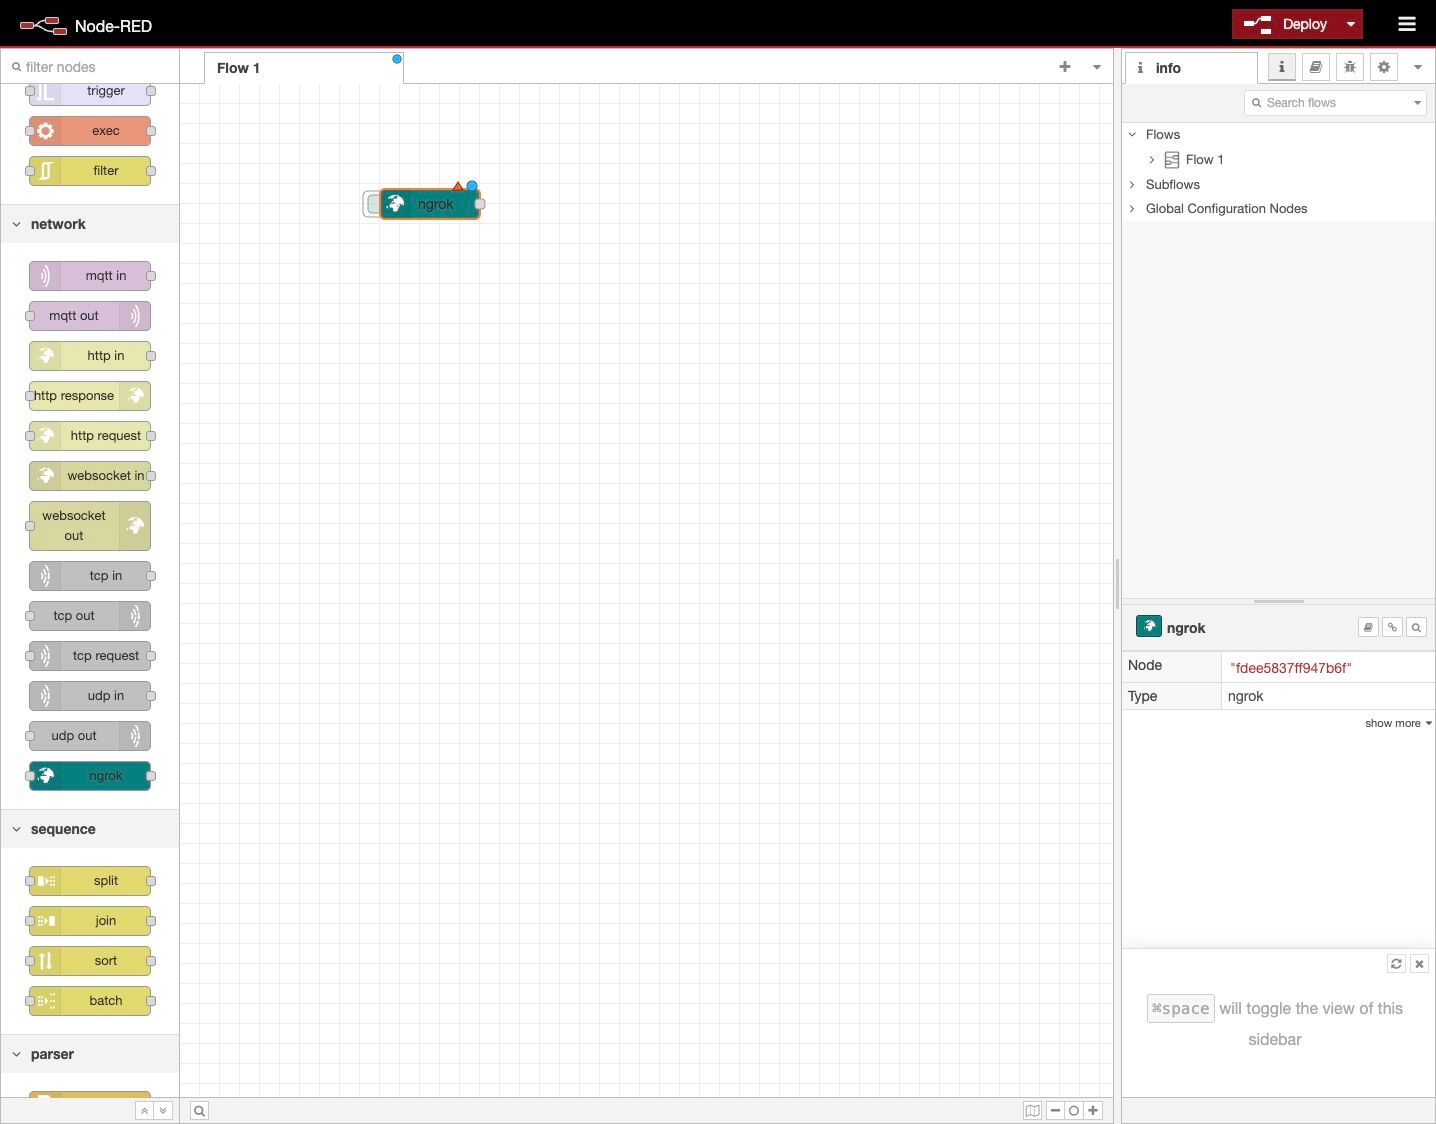
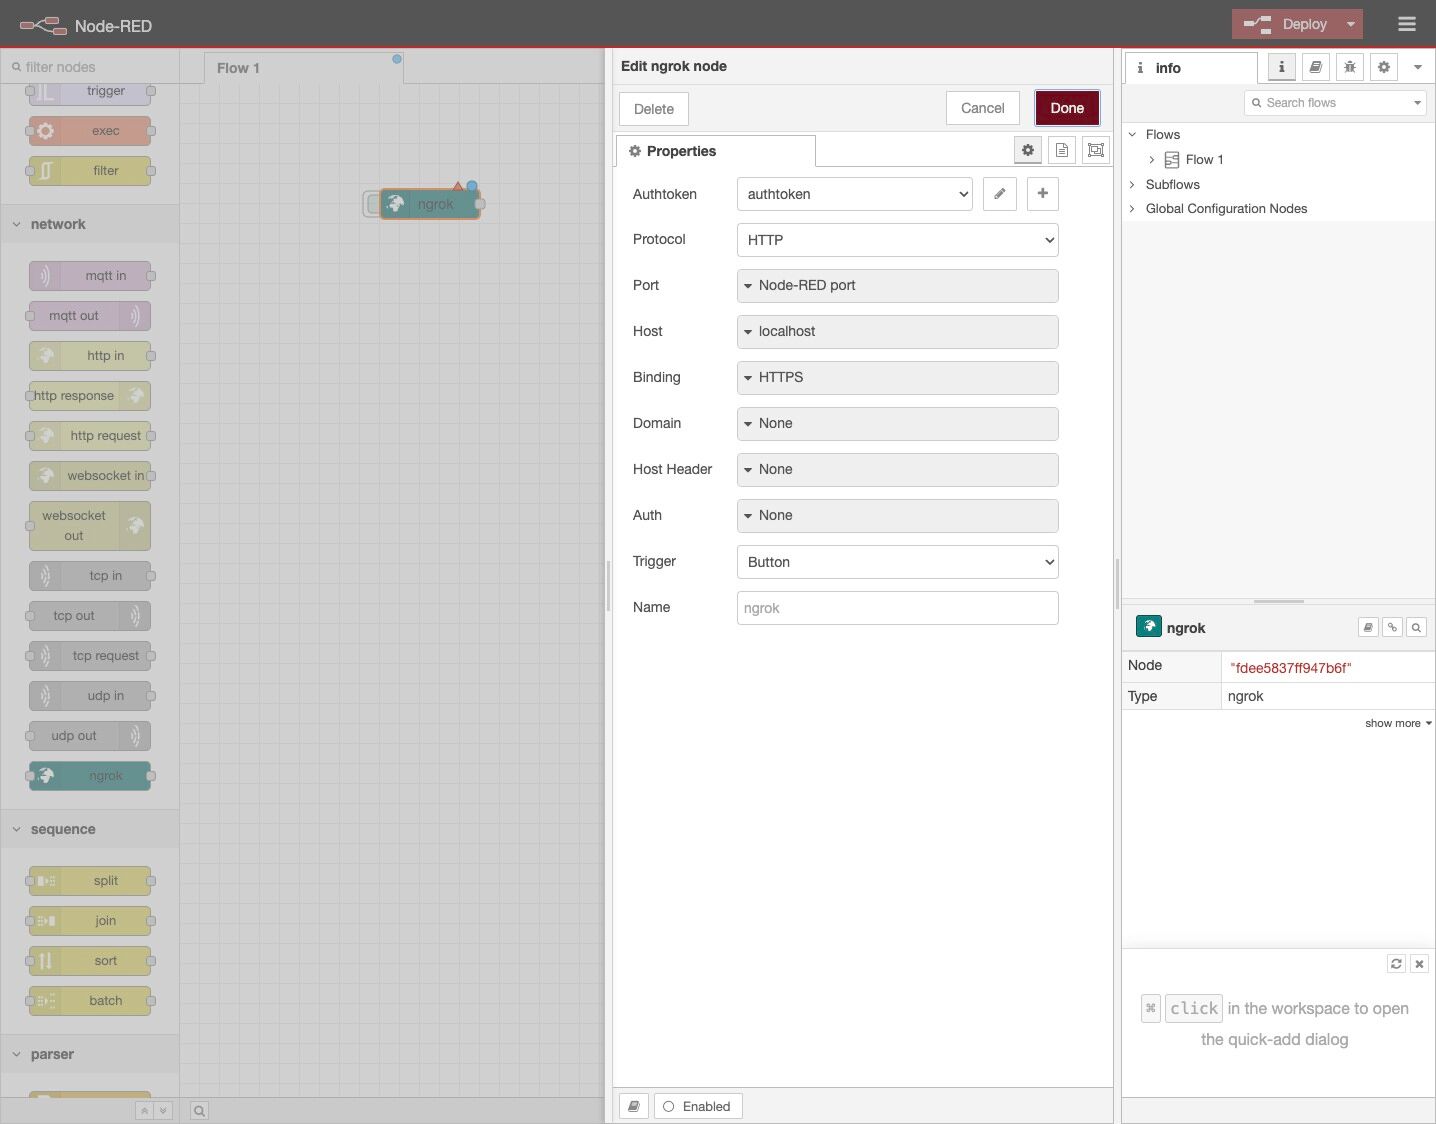
10. And drag it onto the canvas, then double-click to open the node.
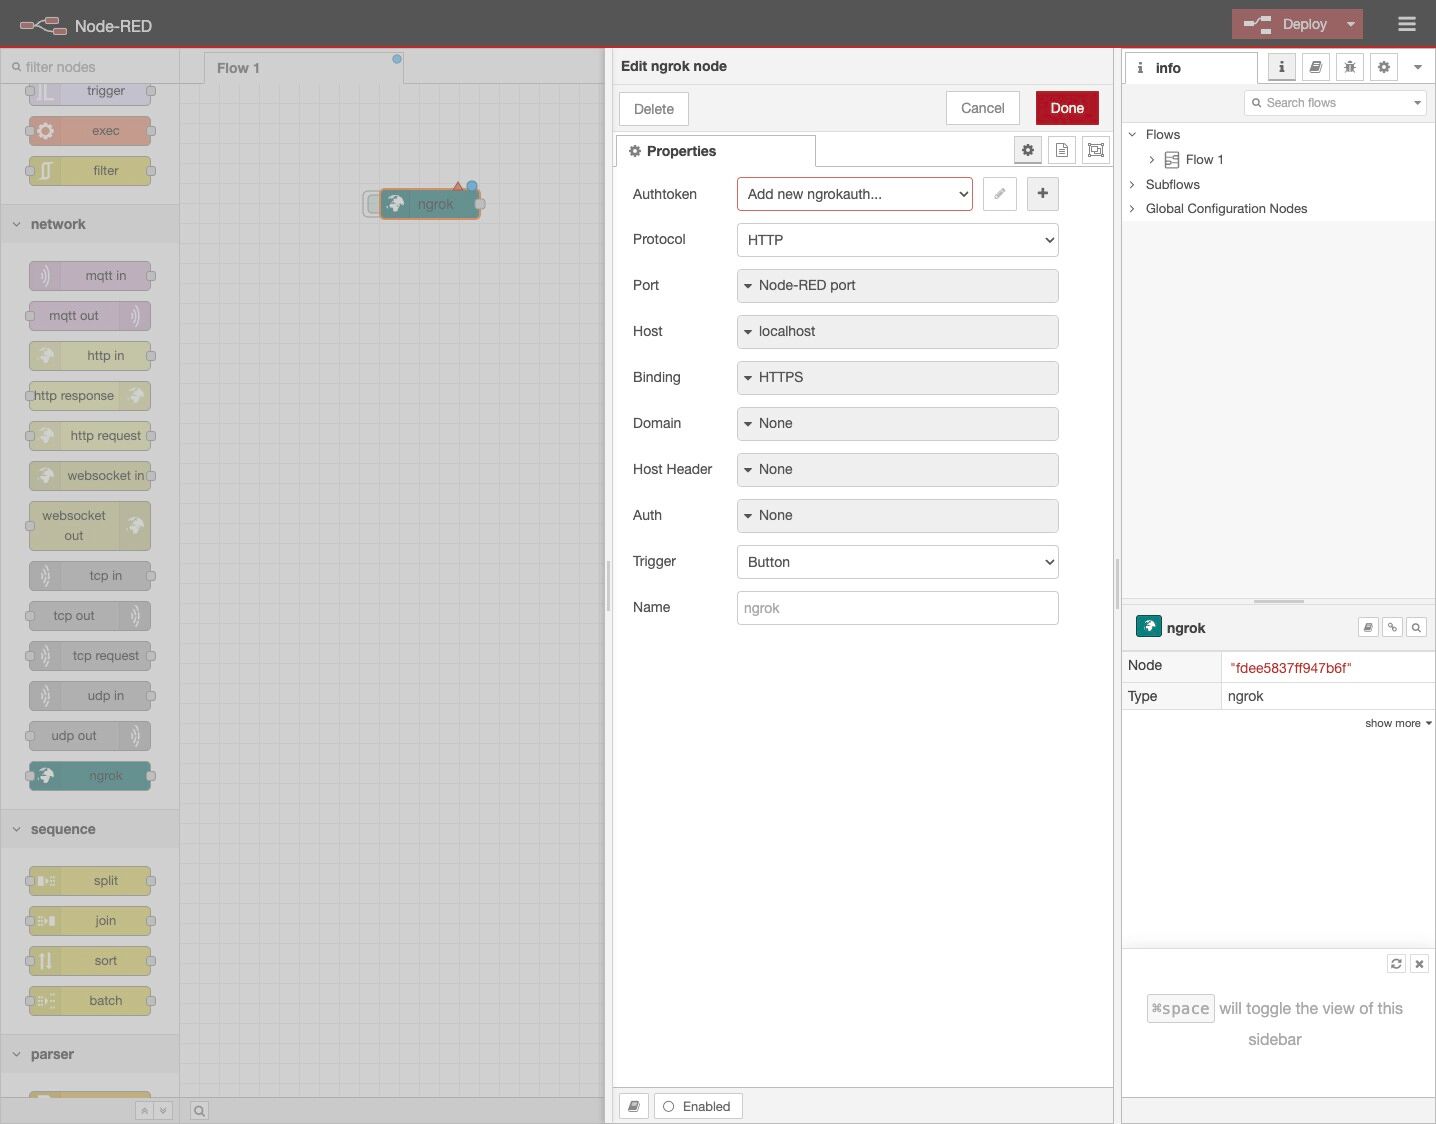
11. Click the + button to add a new ngrok auth config.
12. Enter your ngrok authtoken and give it a name like “authtoken”.
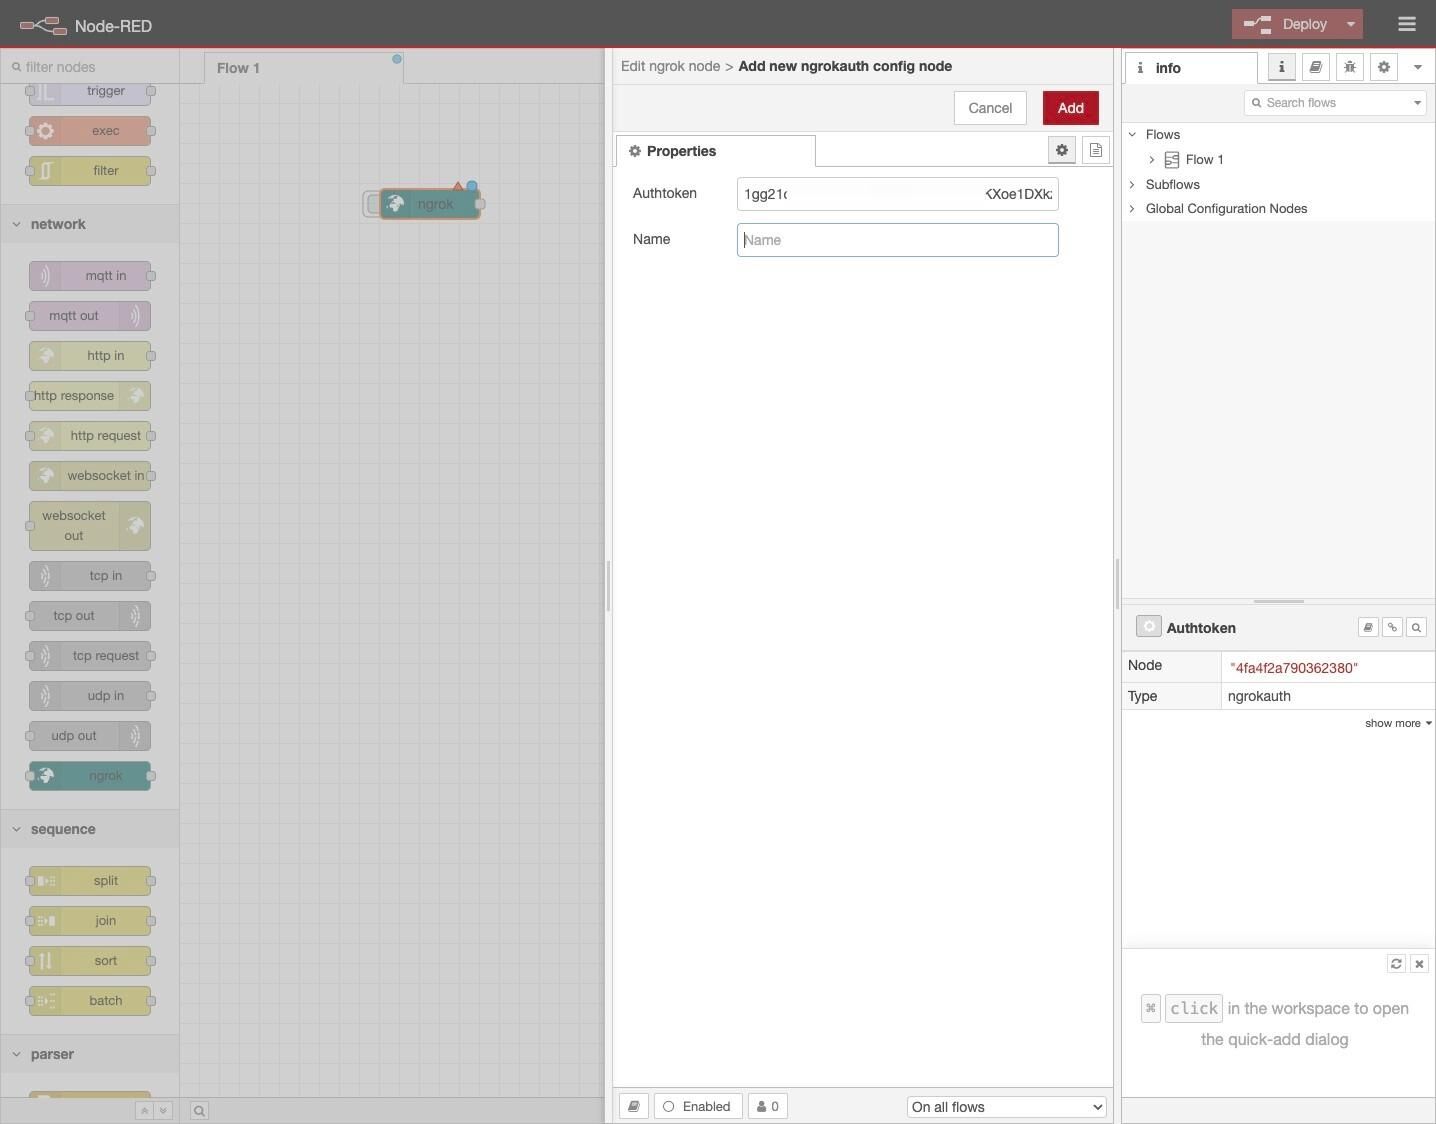
13. Click “Add”.

14. Click “Done”.
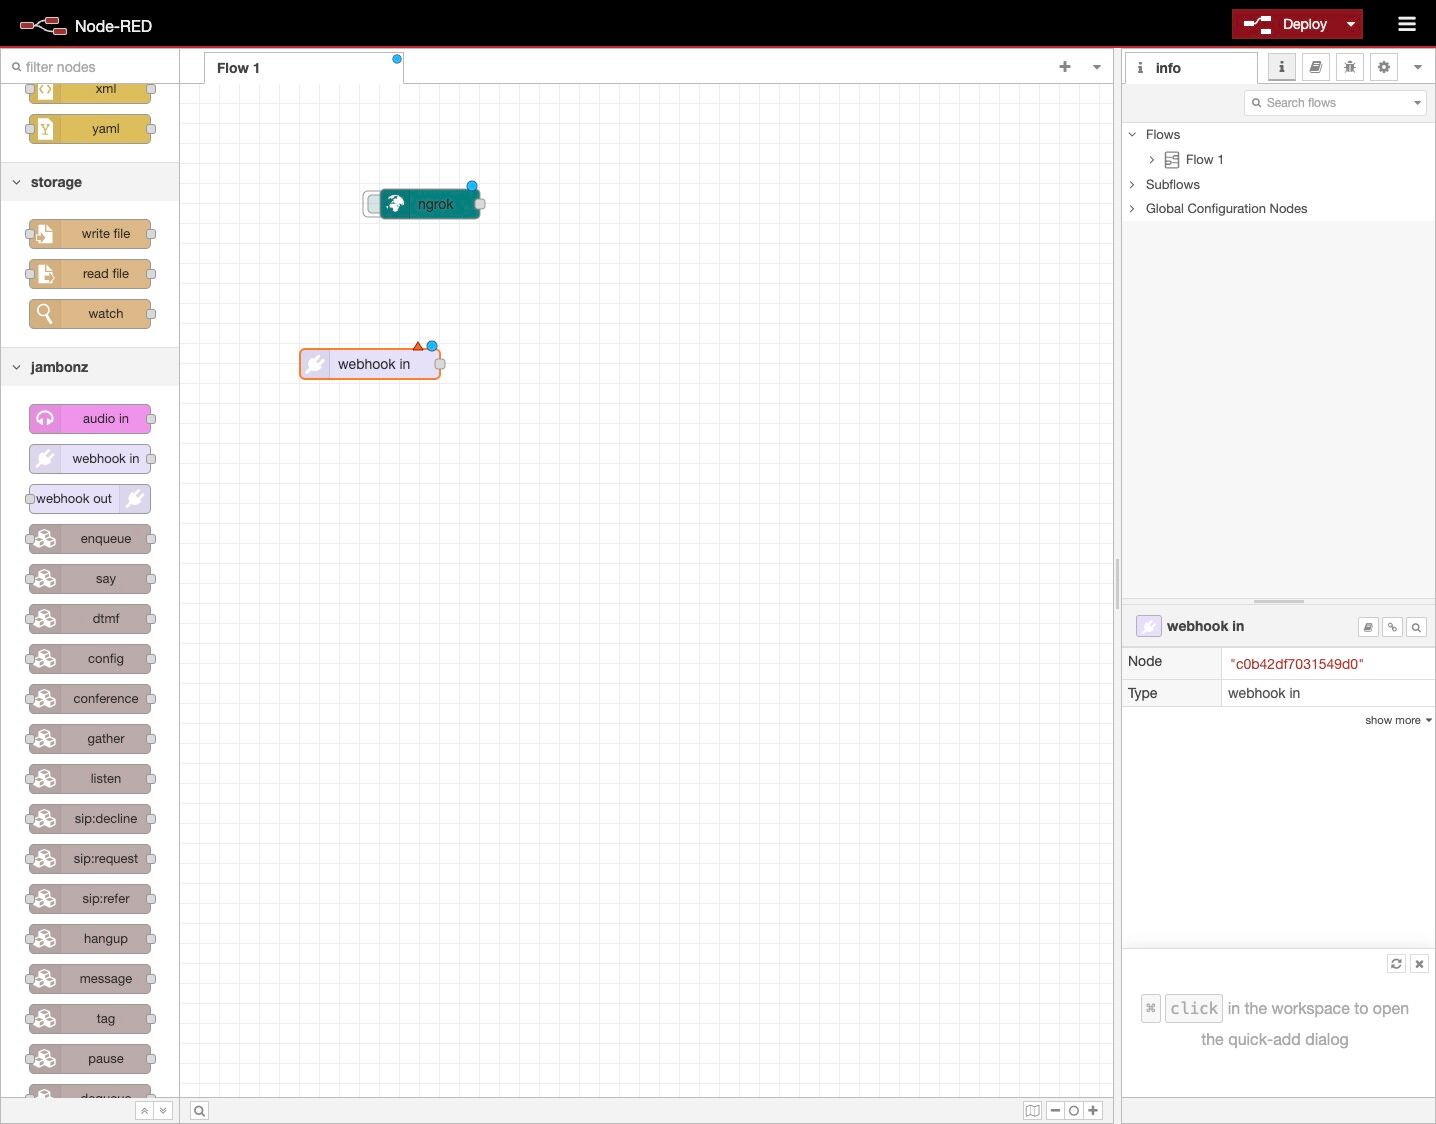
15. Scroll the palette to the bottom, and you will see the jambonz nodes. Drag a “webhook in” node to the canvas, then double-click it to open the config.
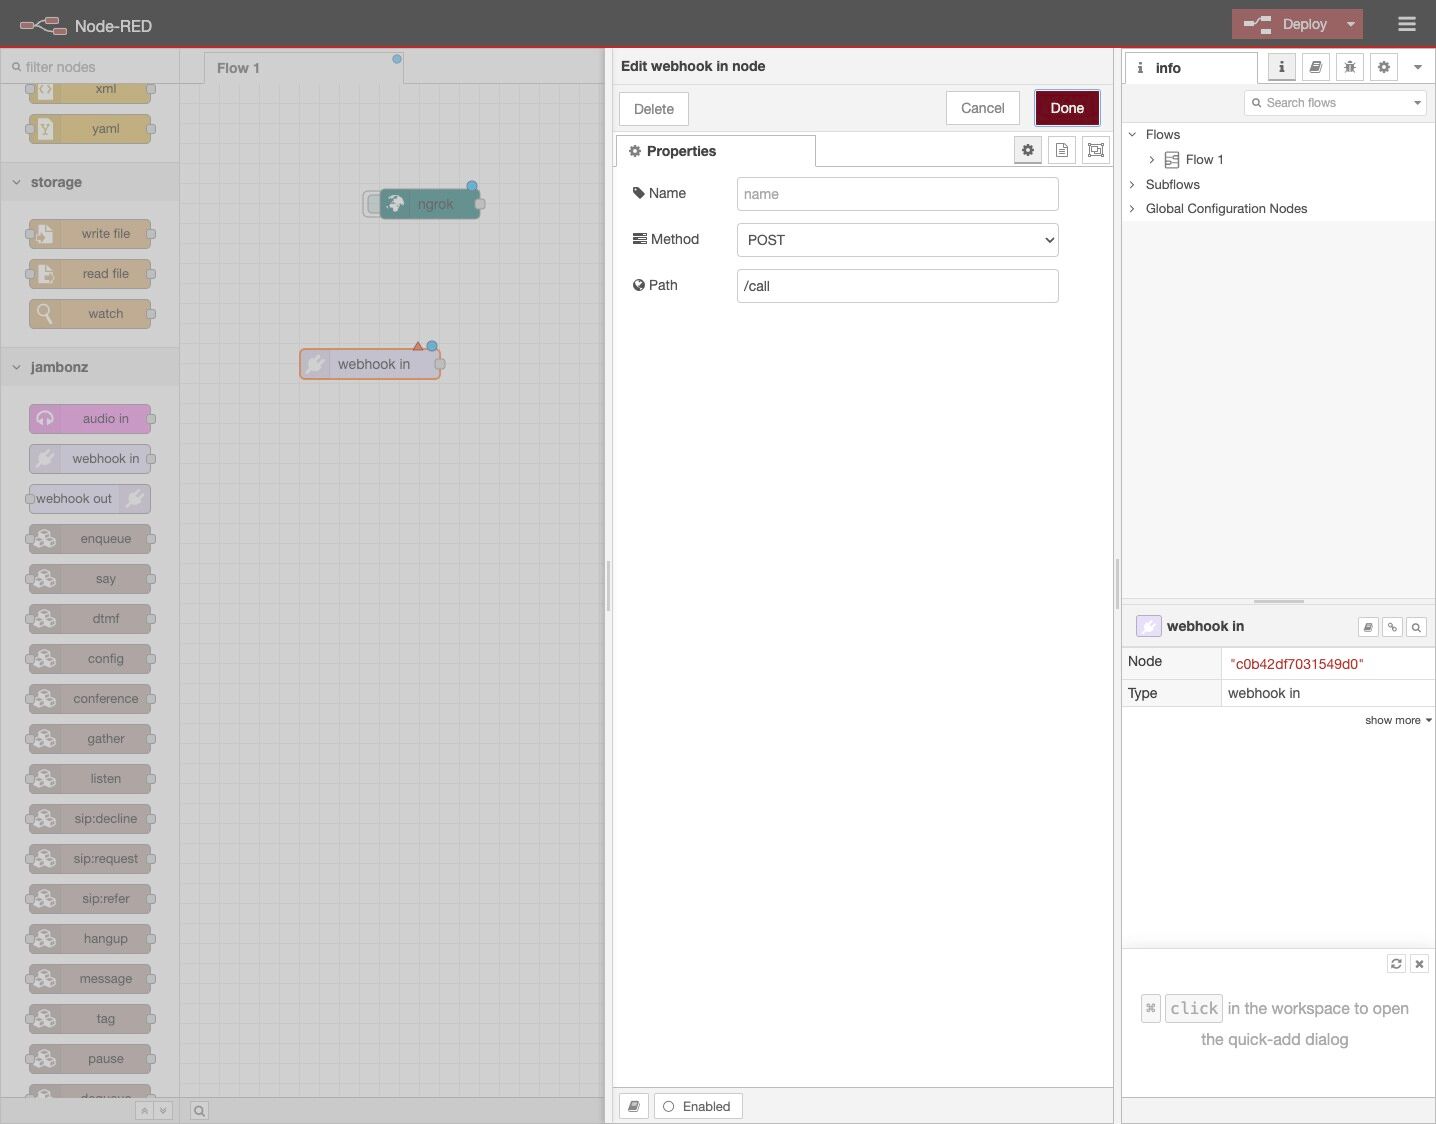
16. Click the “Path” field. and enter “/call”, then click “Done”.
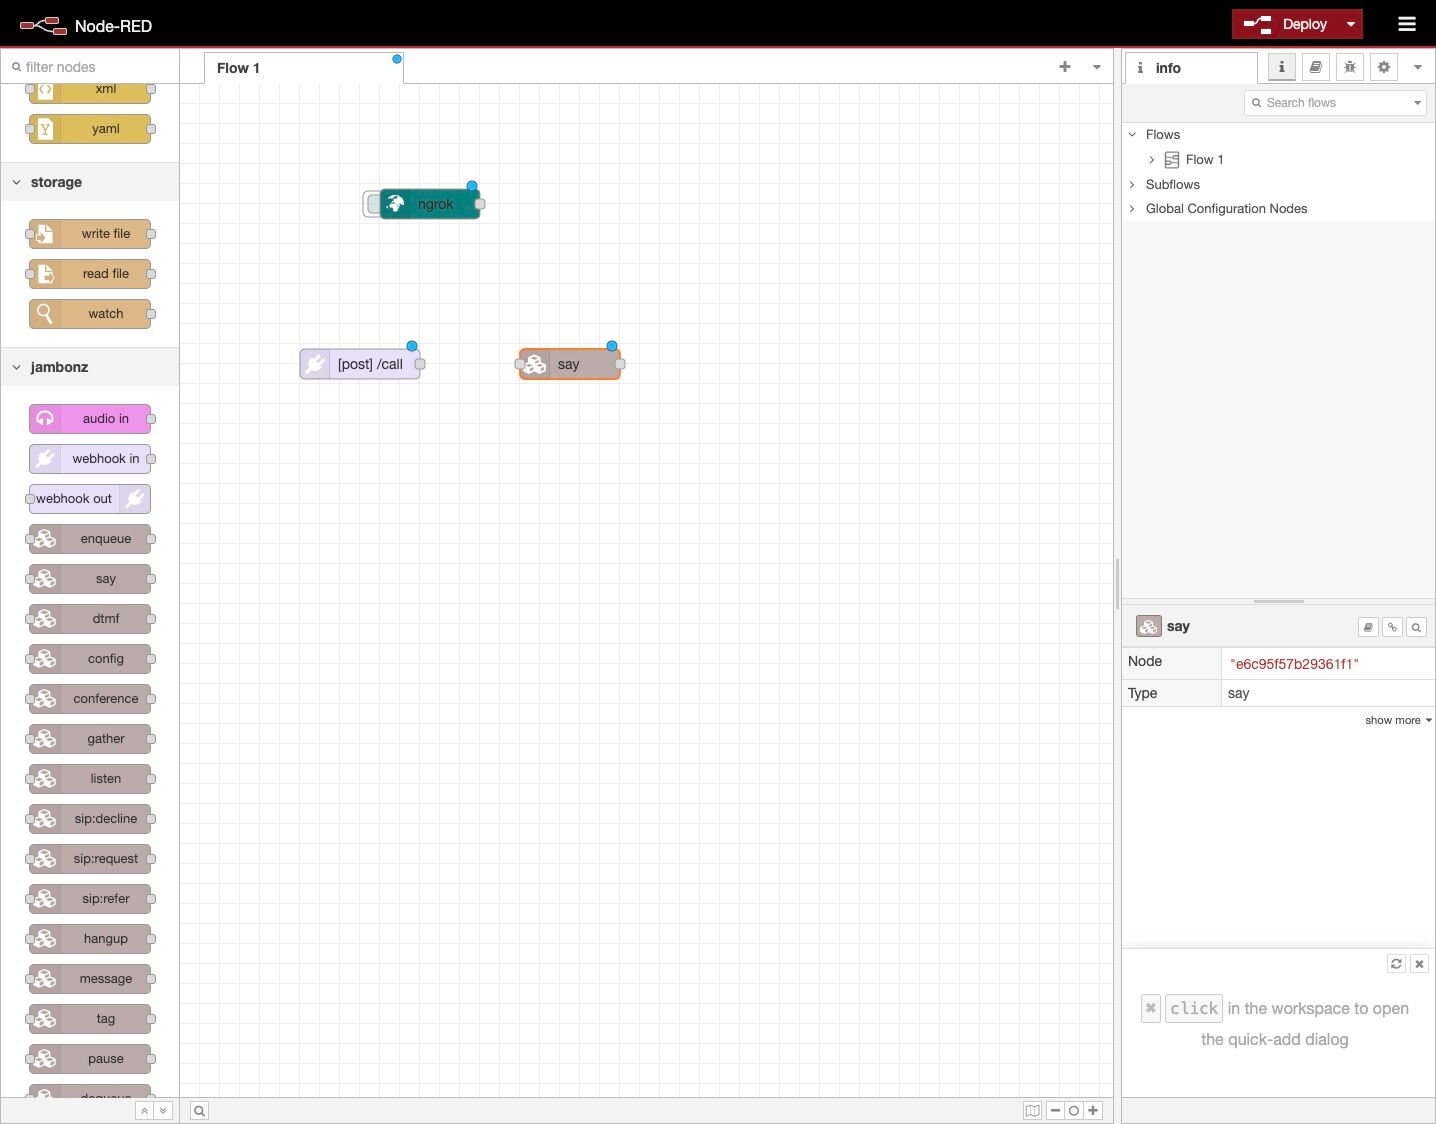
17. Next, drag a say node from the palette onto the canvas and double-click it to edit.
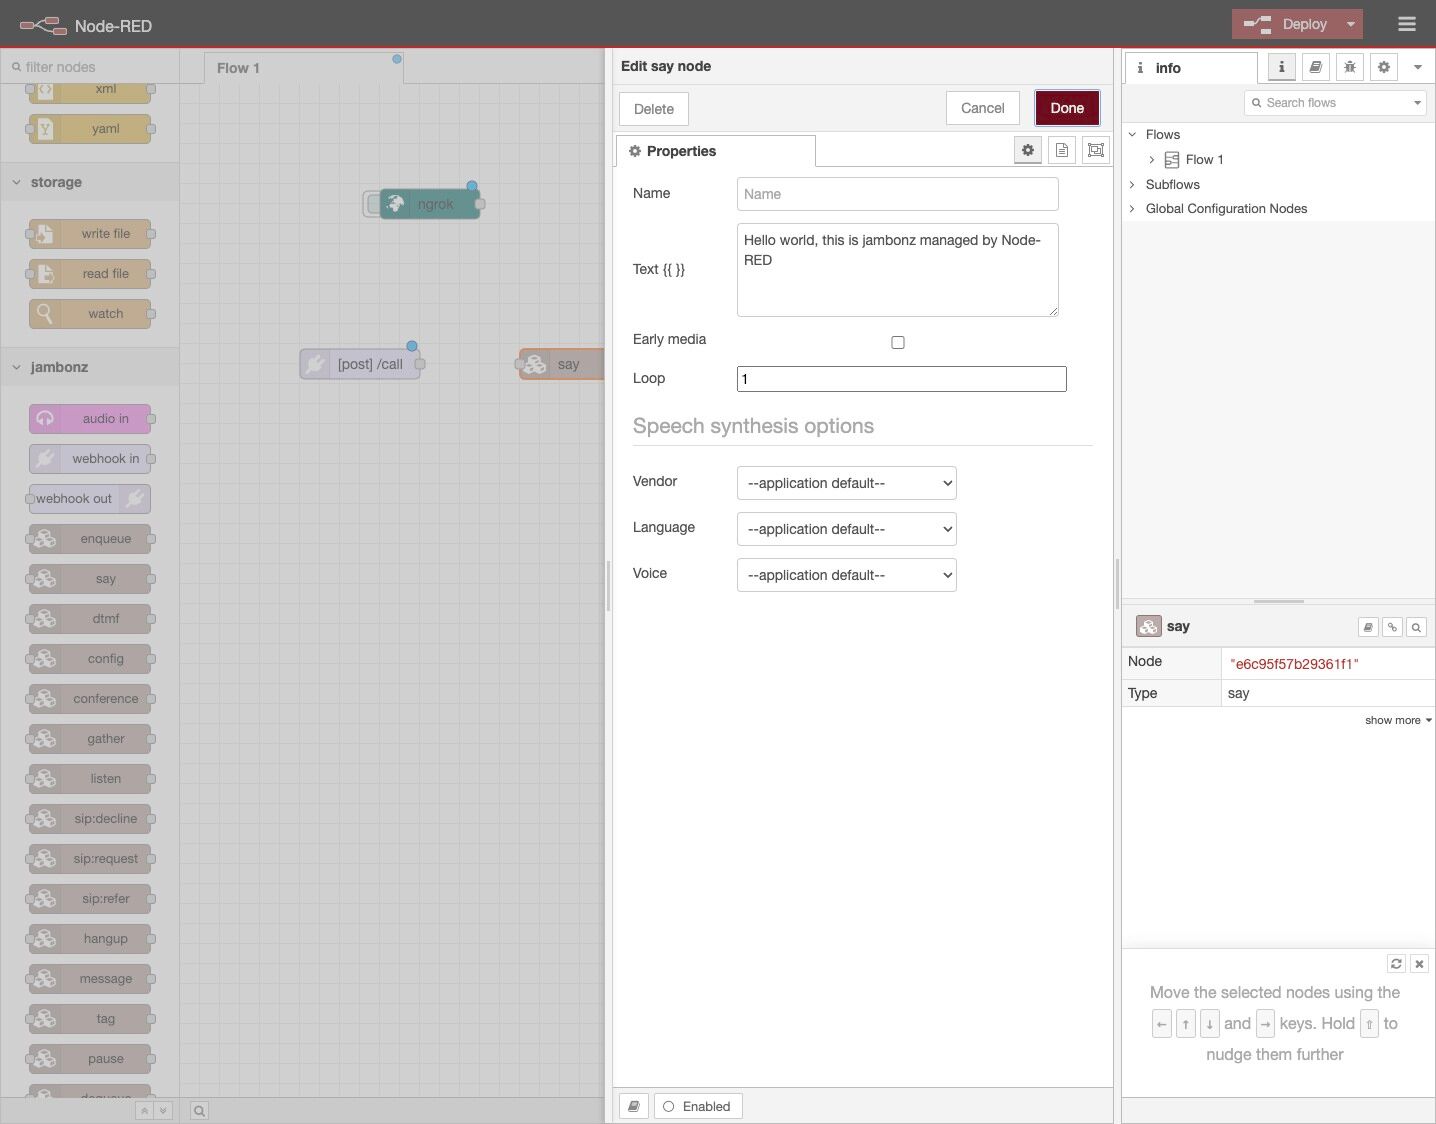
18. Click the “Text {{ }}” field.
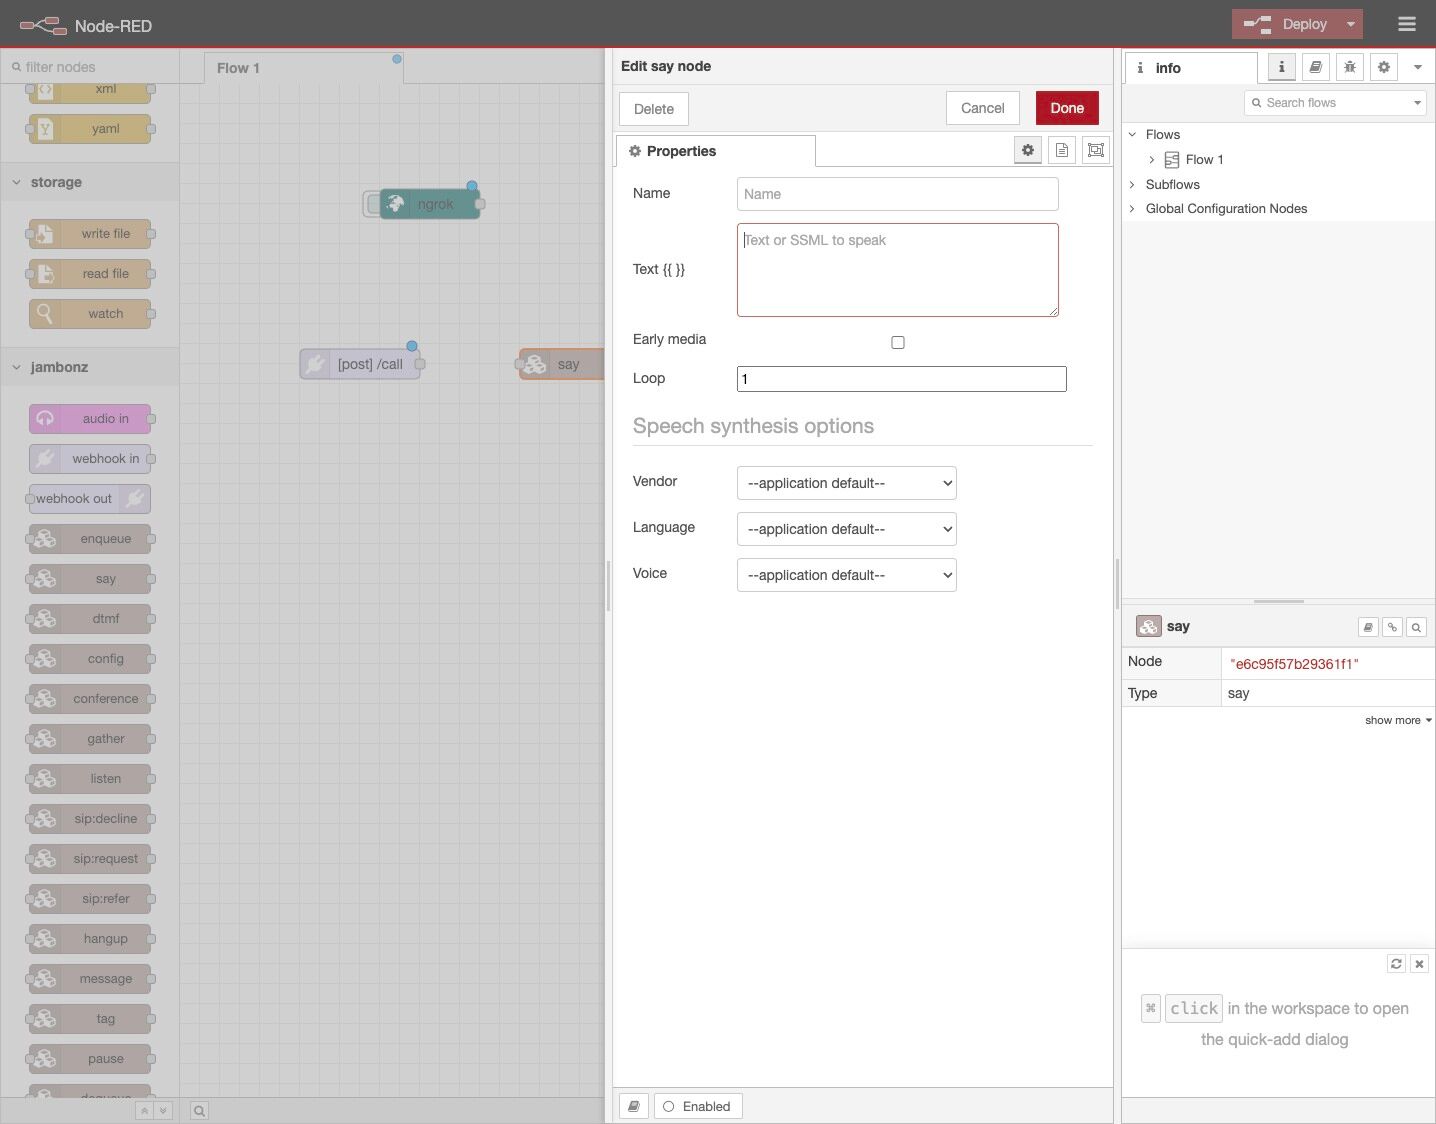
19. Type “Hello world, this is jambonz managed by Node-RED”.
20. Click “Done”.
21. Drag a webhook out node onto your canvas.
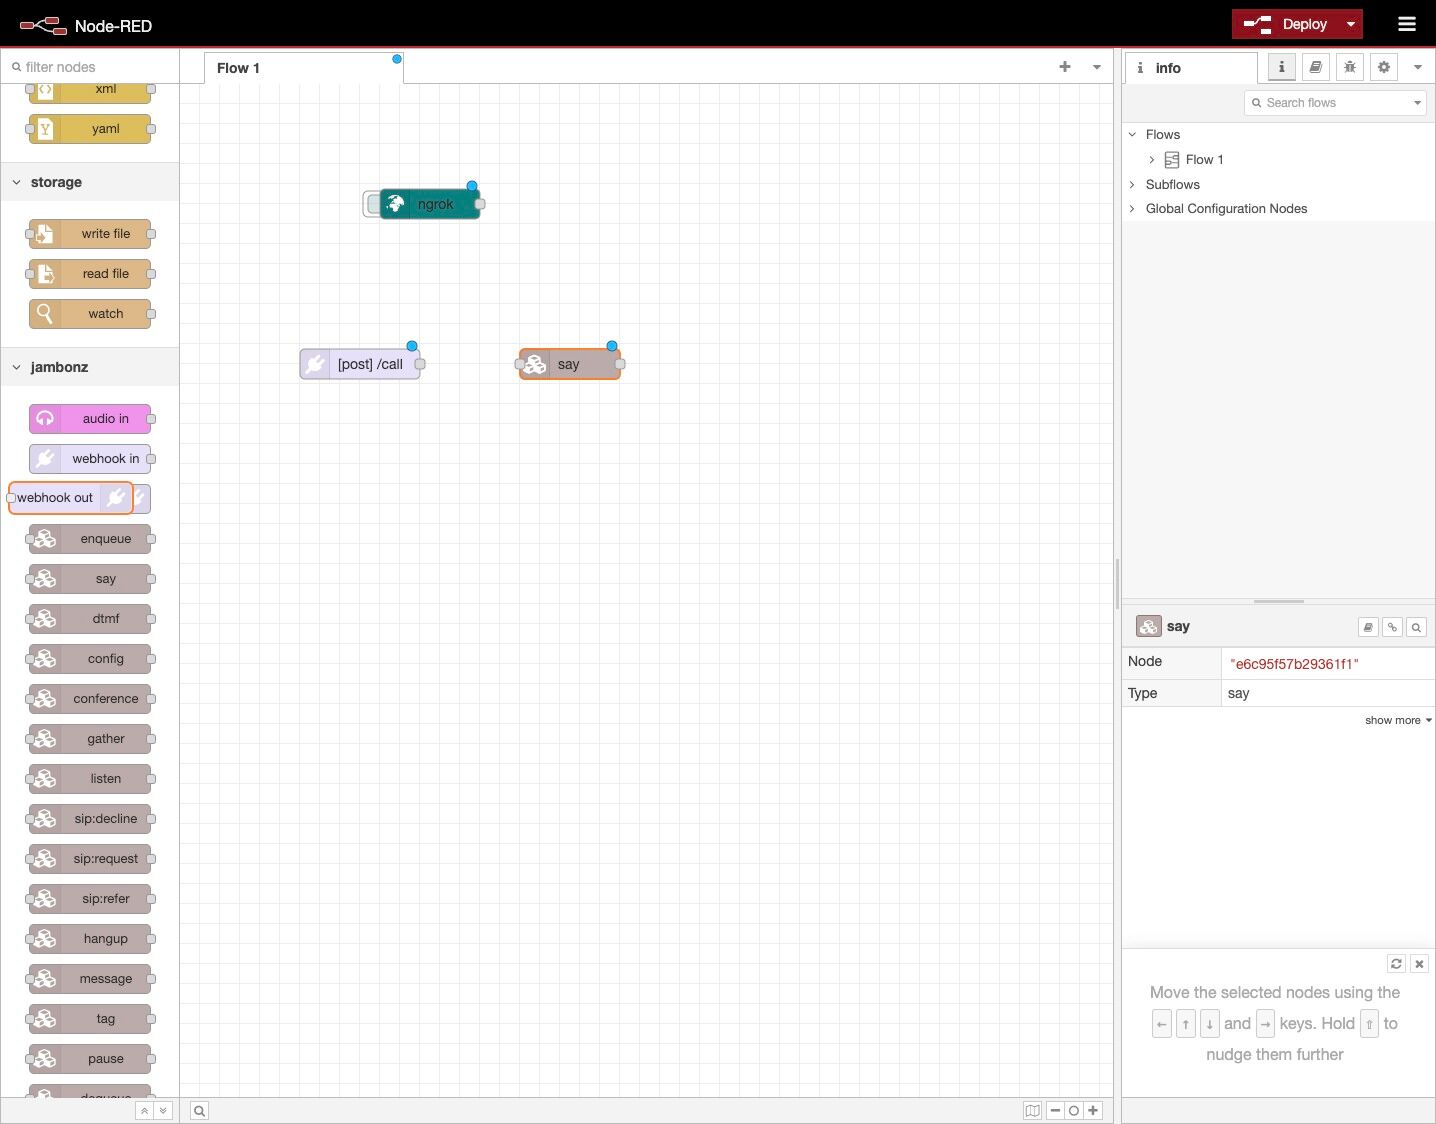
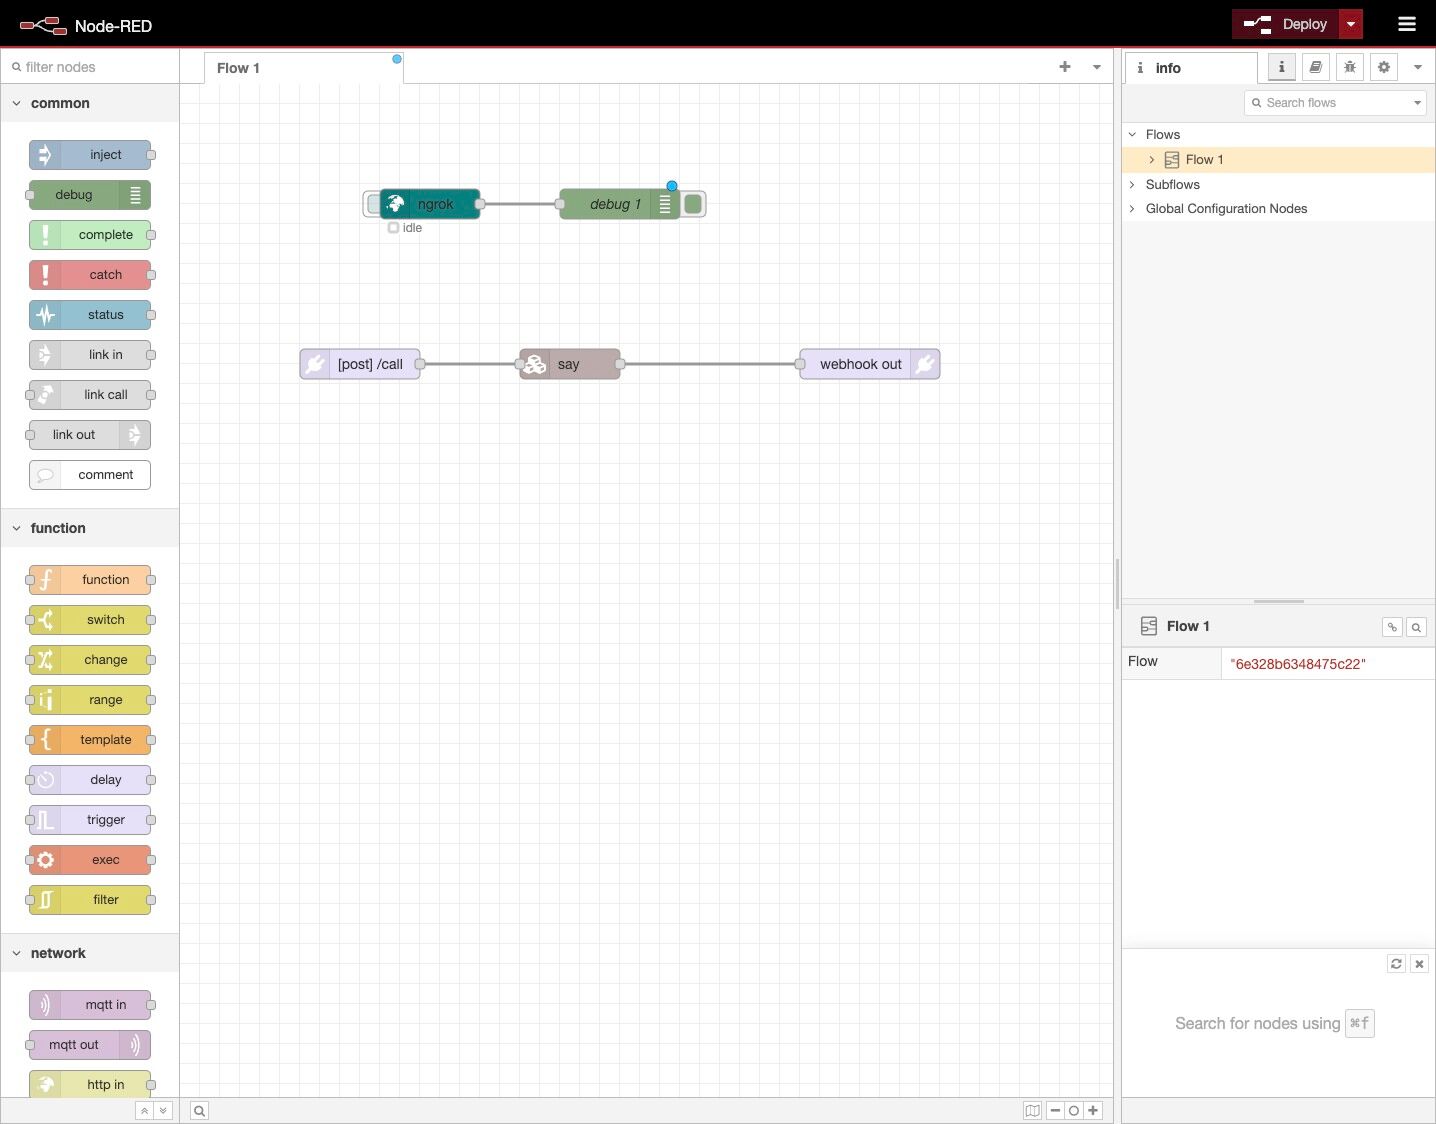
22. Wire the nodes together so that the webhook In is connected to say and then say to webhook out.

23. Drag a debug node from the palette to the canvas and wire it to the ngrok node.
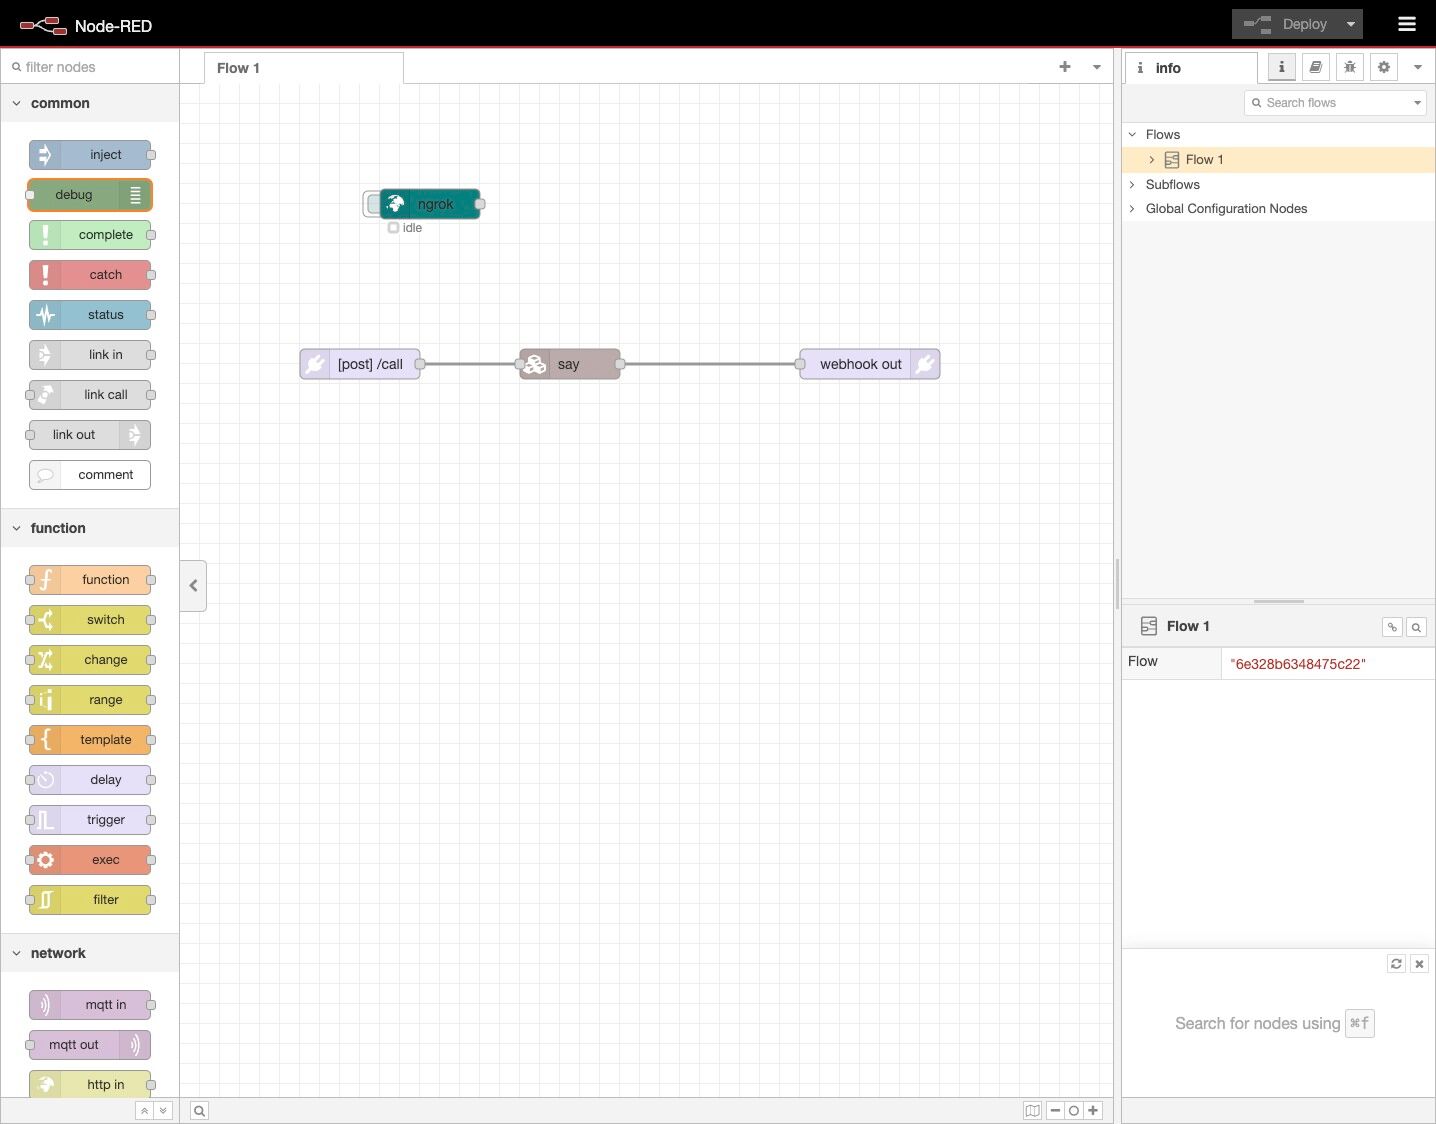
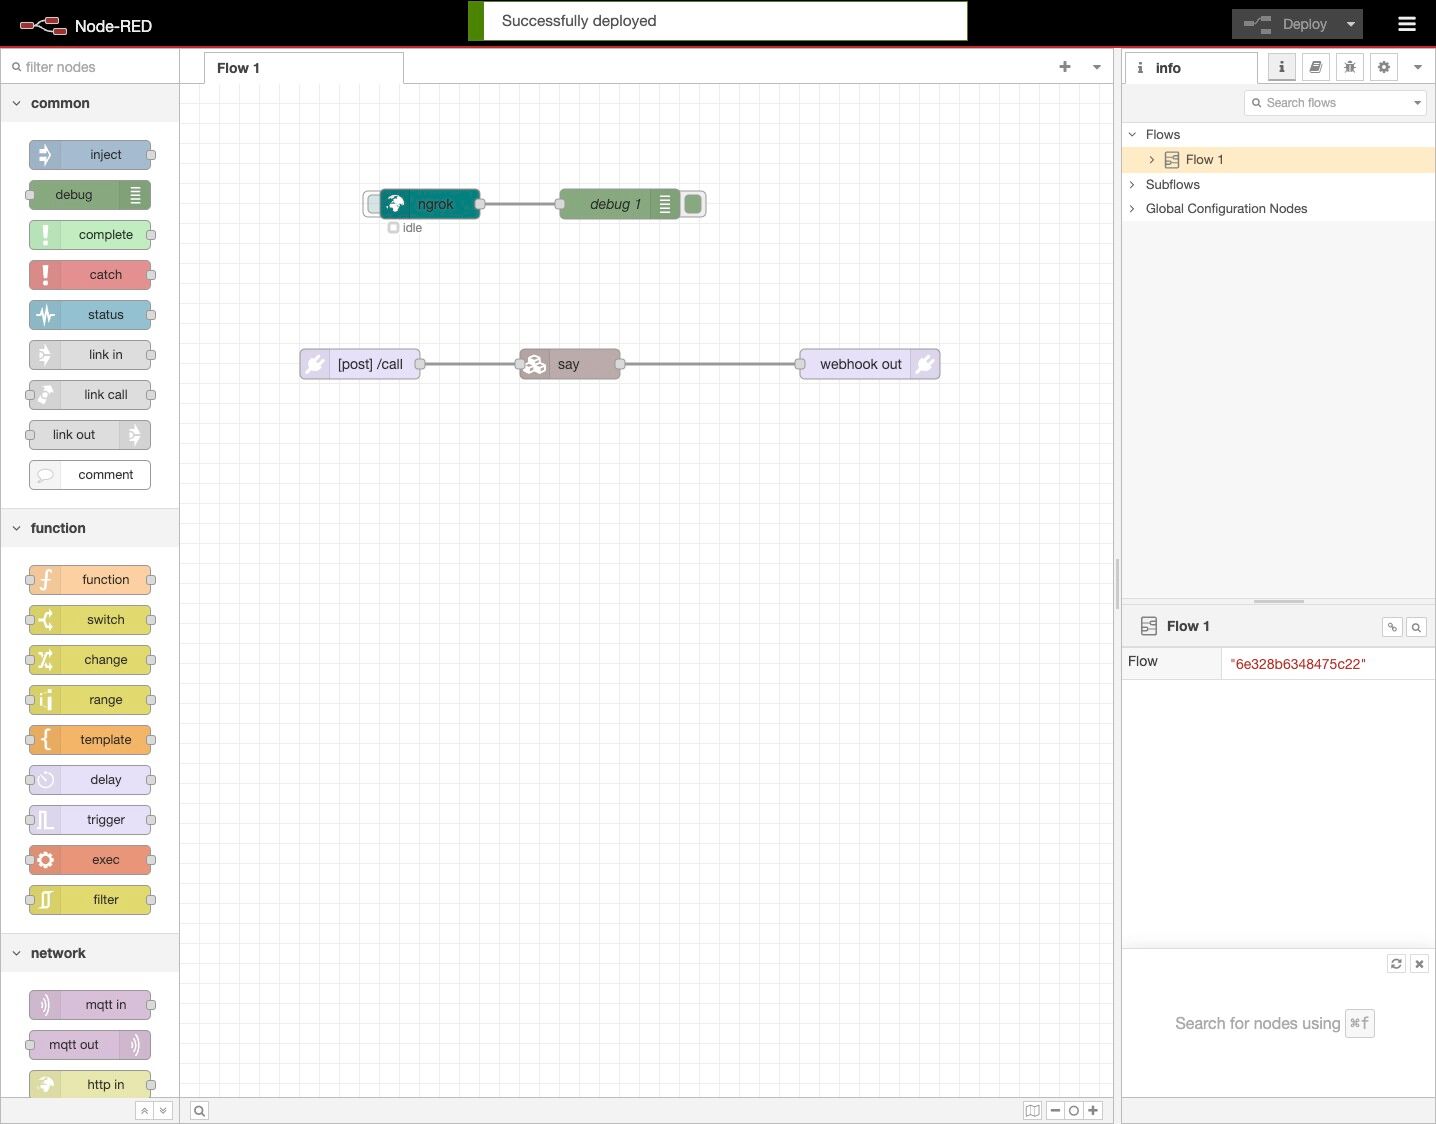
24. Now click “Deploy” to save your flow.
25. Click the button on the ngrok node to activate your ngrok tunnel.
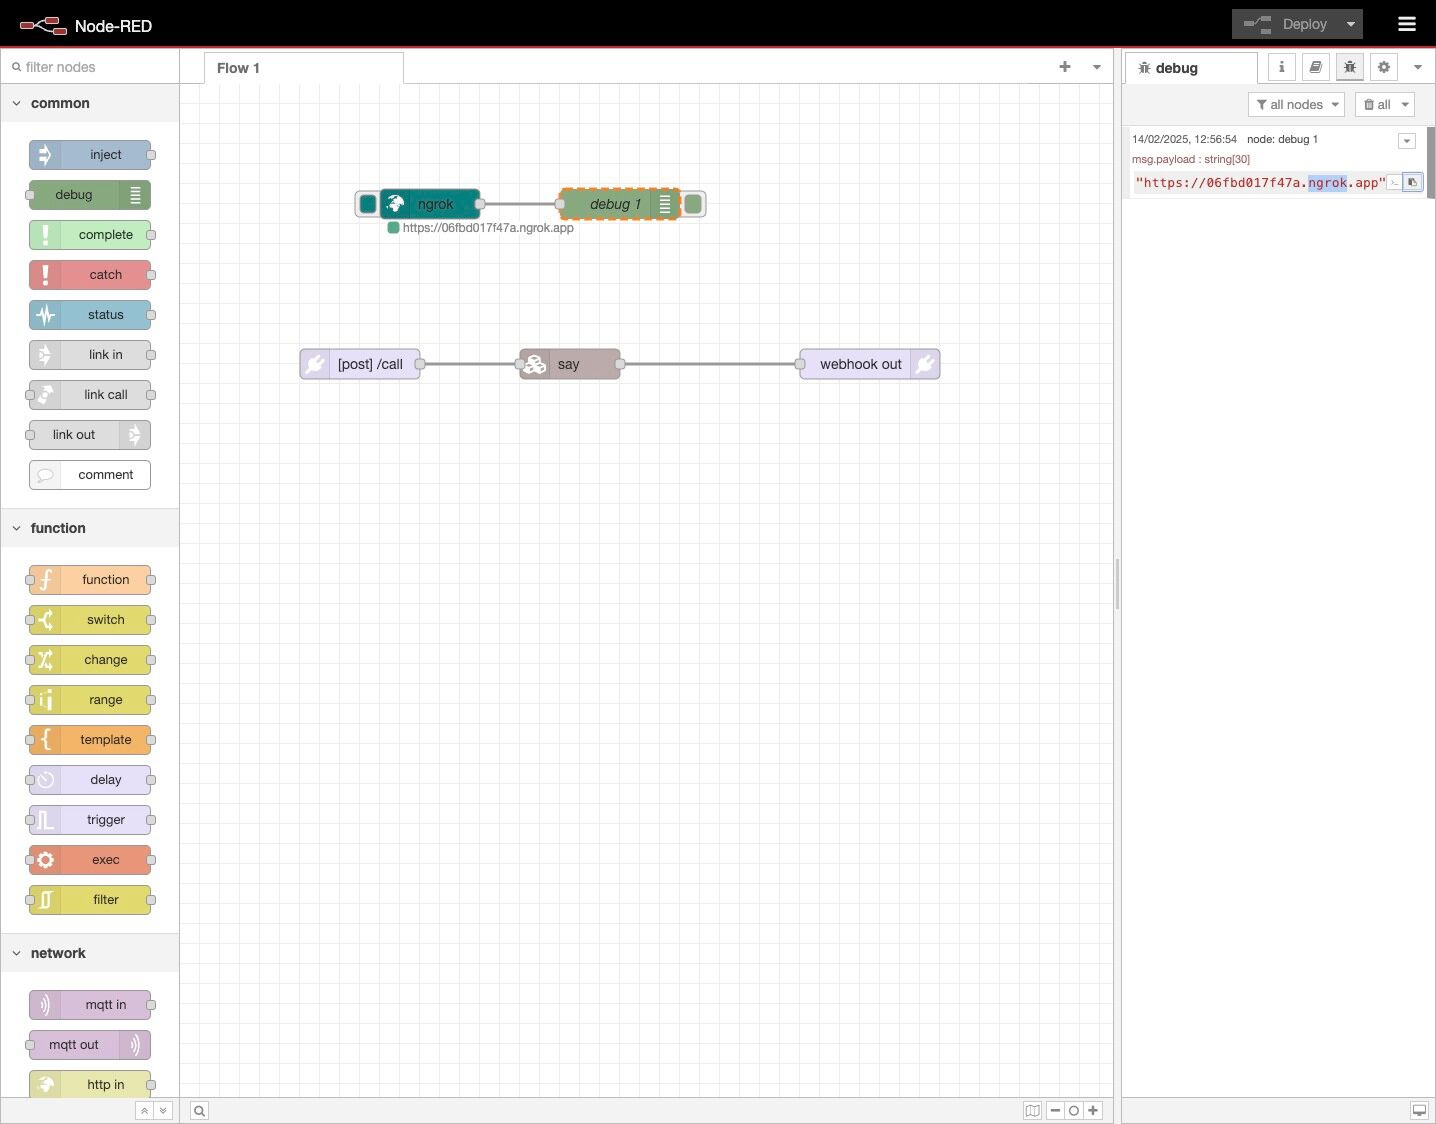
26. Now click on the debug icon in the right-hand panel.
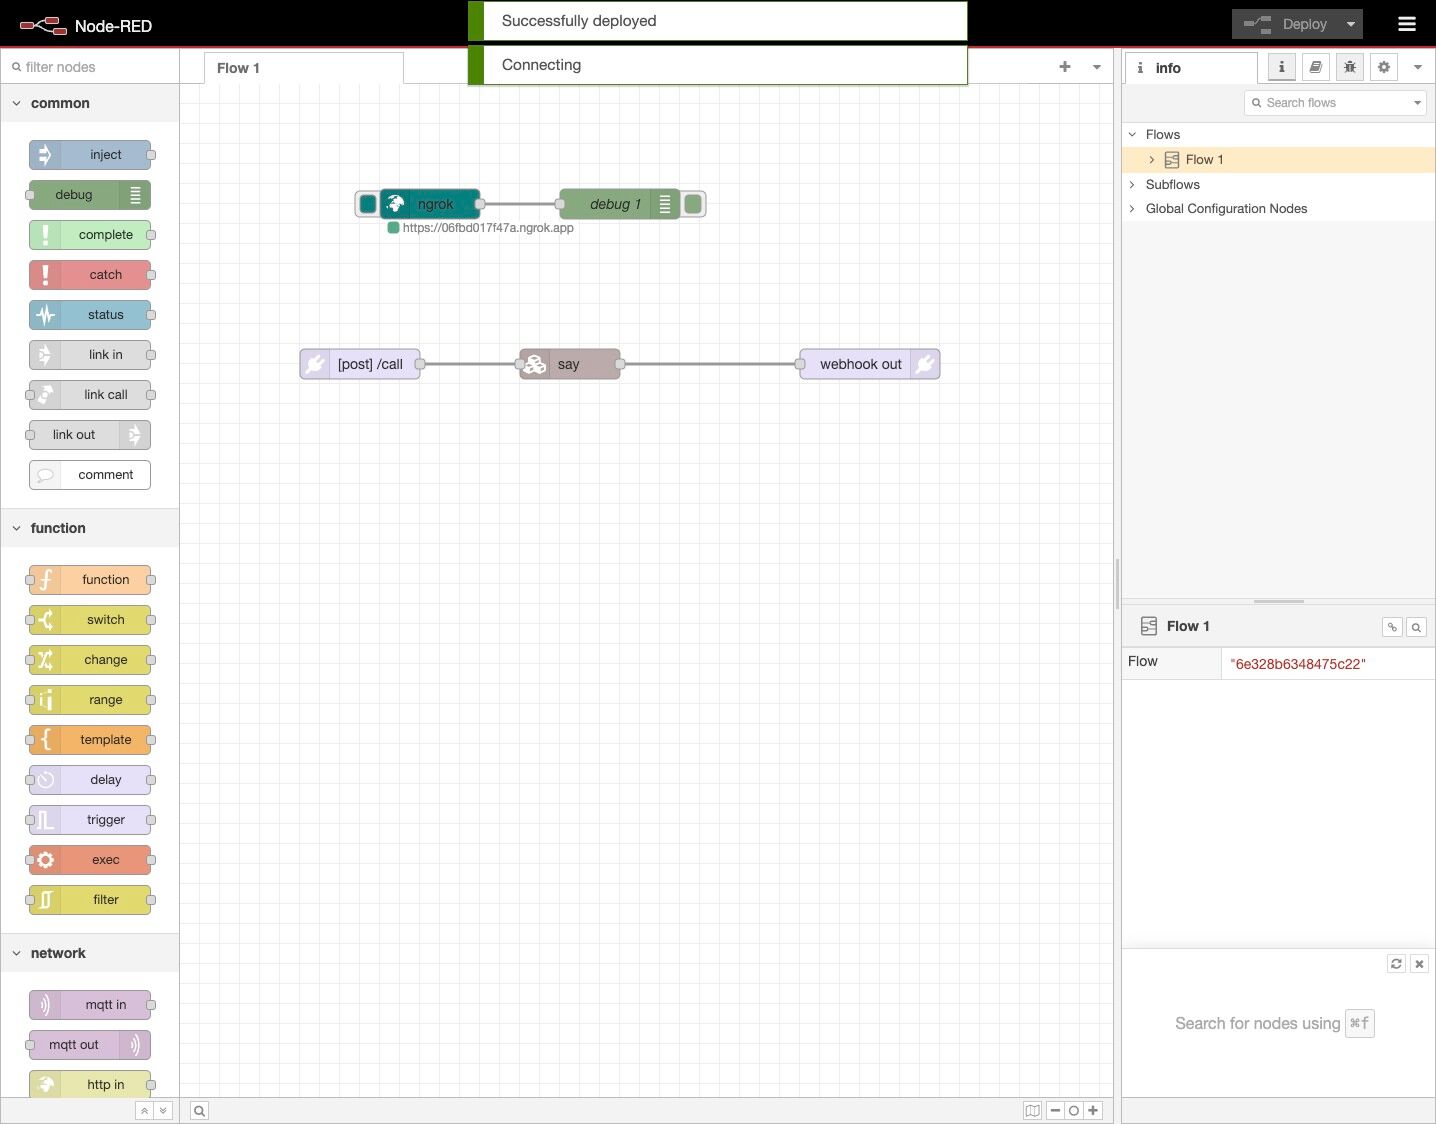
27. You should see the ngrok hostname for your session in the debug bar, click the icon to copy that value to your clipboard.
28. In a new tab, navigate to https://jambonz.cloud/
29. Login

30. Click “Applications”.
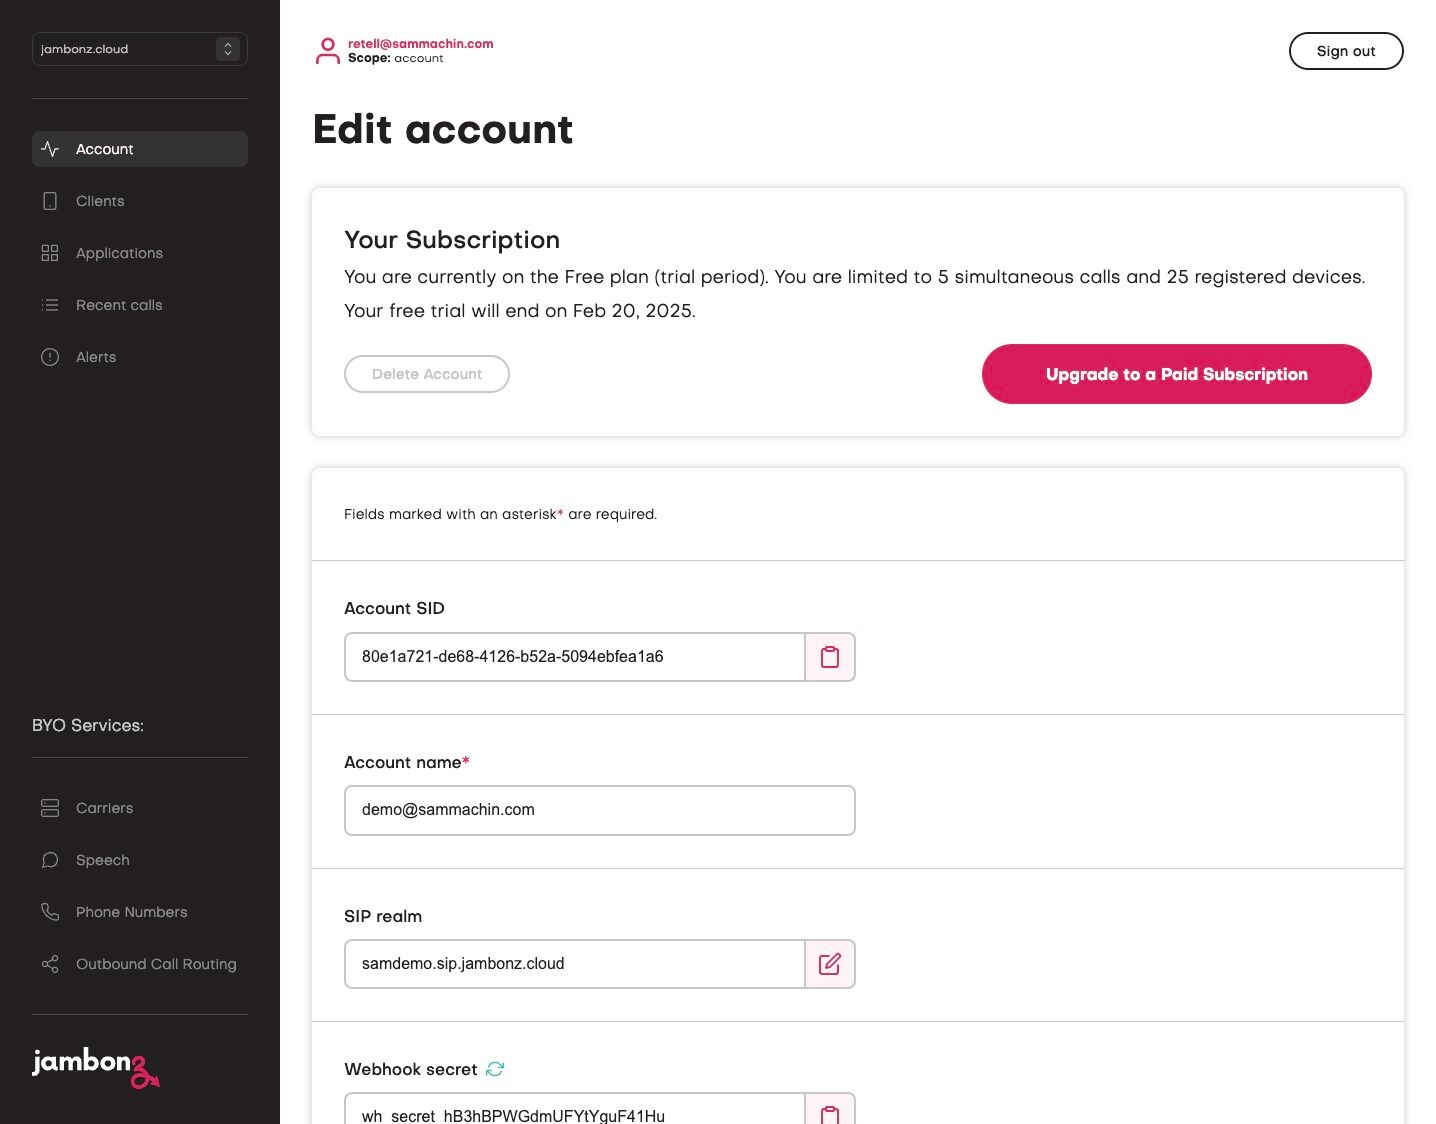
31. Click “Add application”.

32. Click the “Application name*” field.
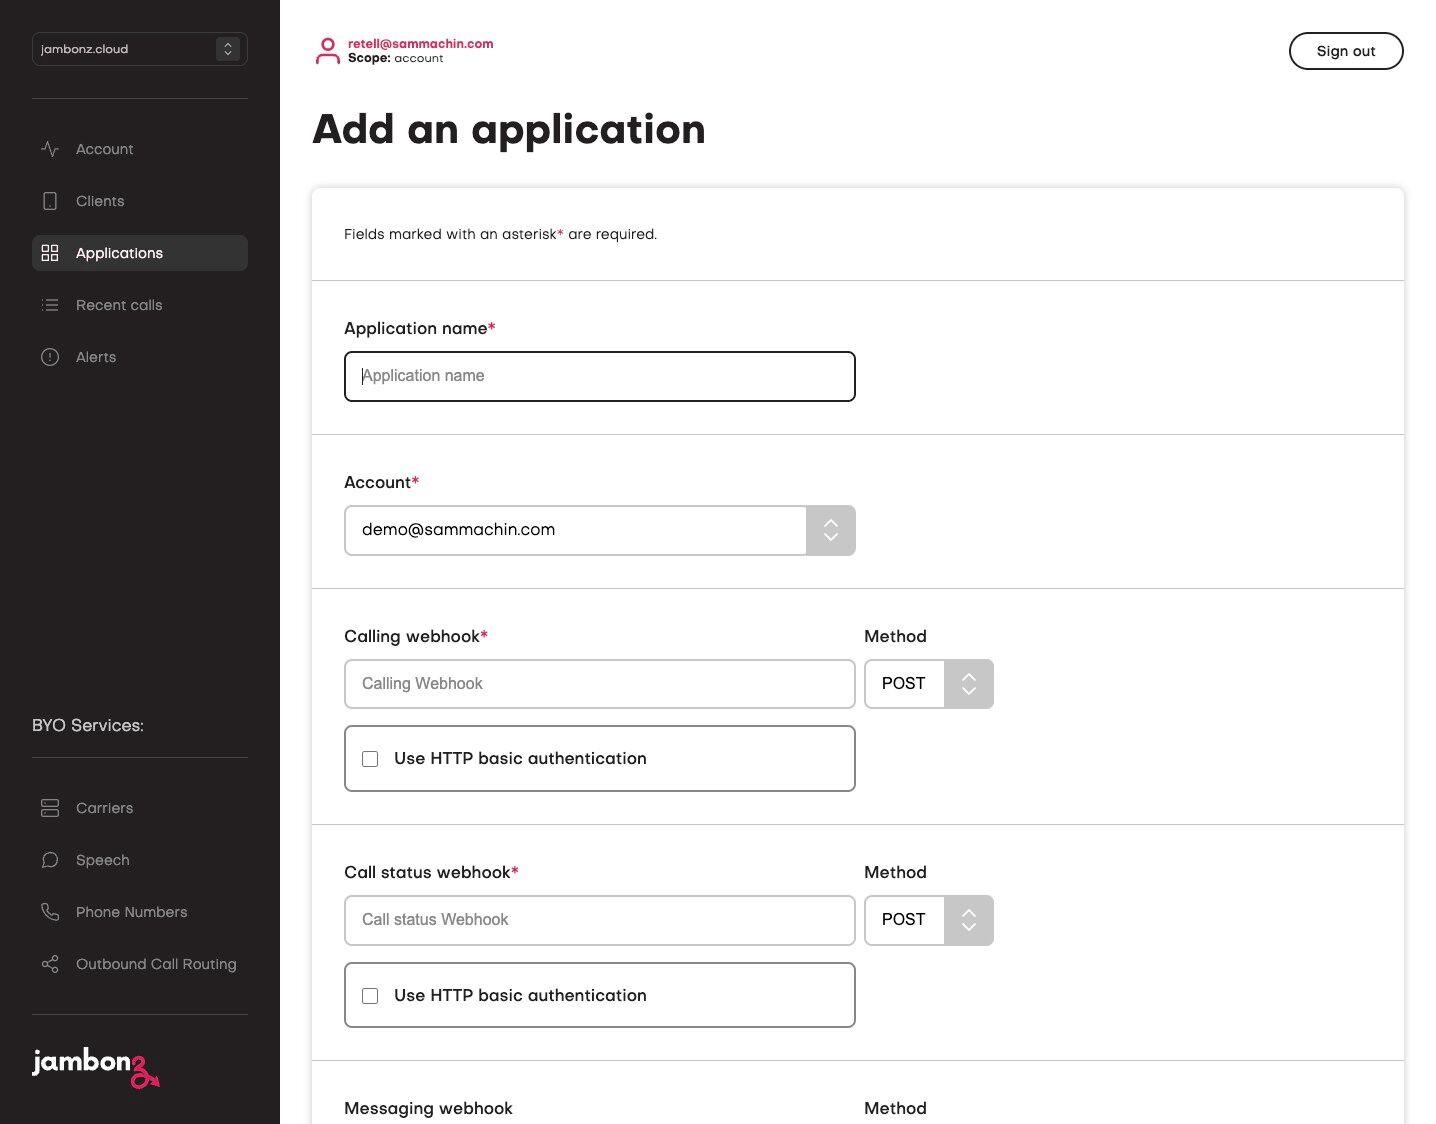
33. Type “node-red ngrok”.
34. Click the “Calling webhook *” field.

35. Paste your ngrok URL from node red here and add “/call” to the end
36. Click the “Call status webhook *” field.
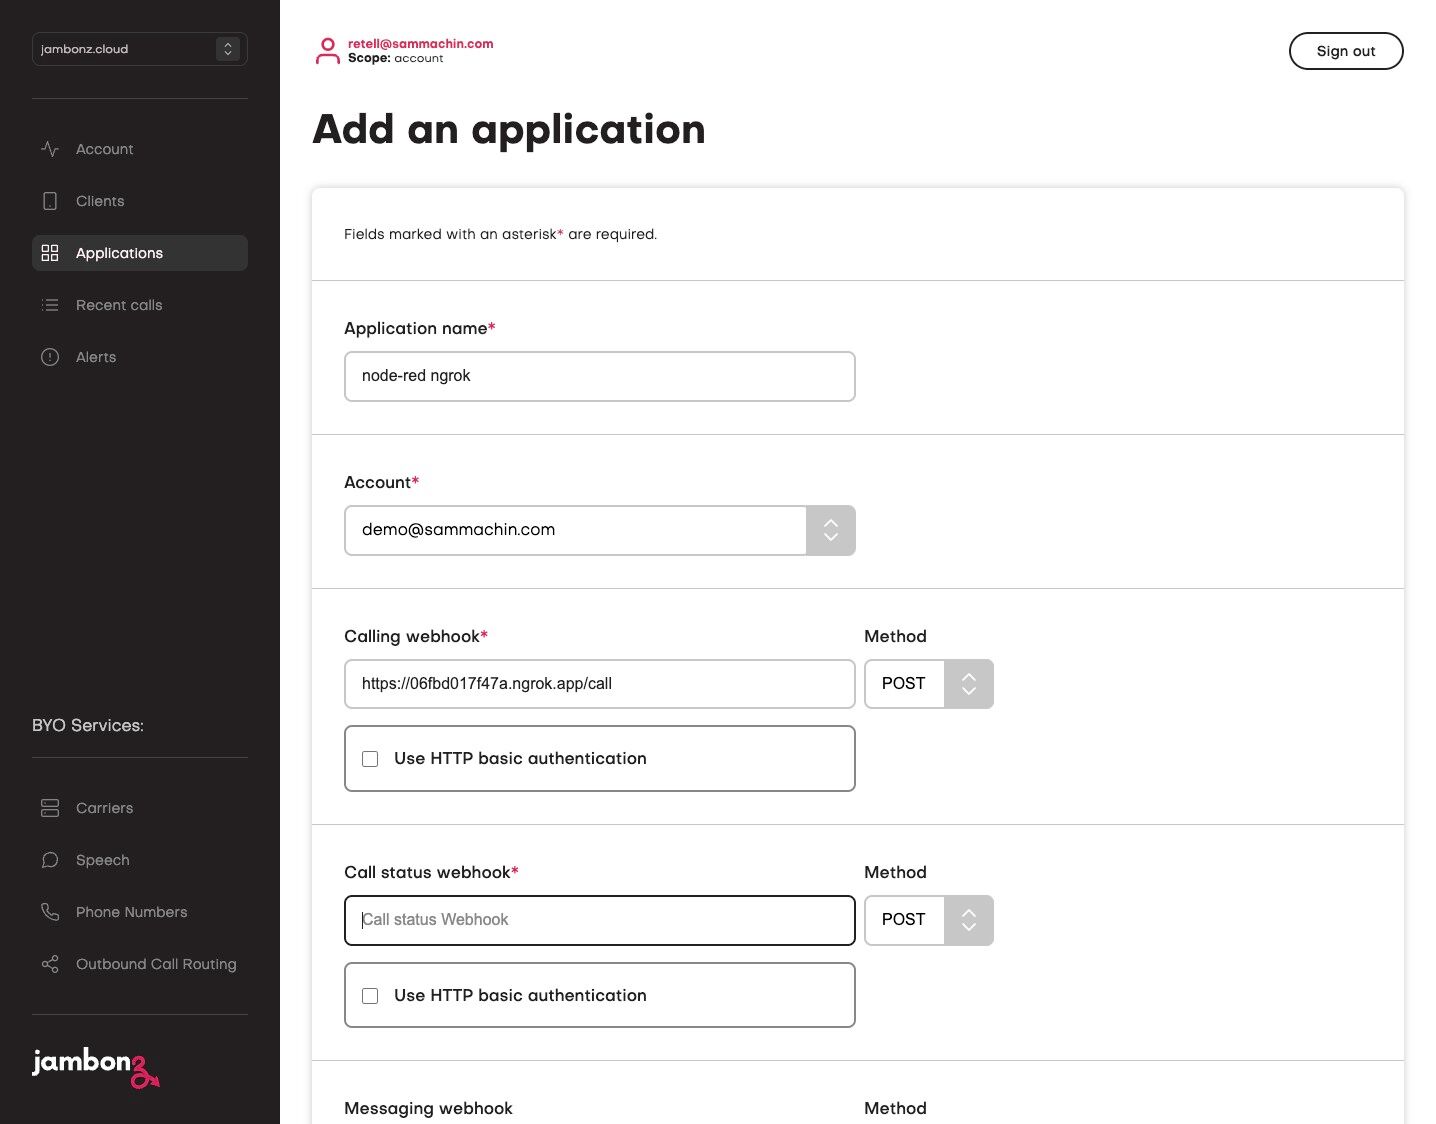
37. Paste your ngrok URL from node red here and add “/status” to the end.
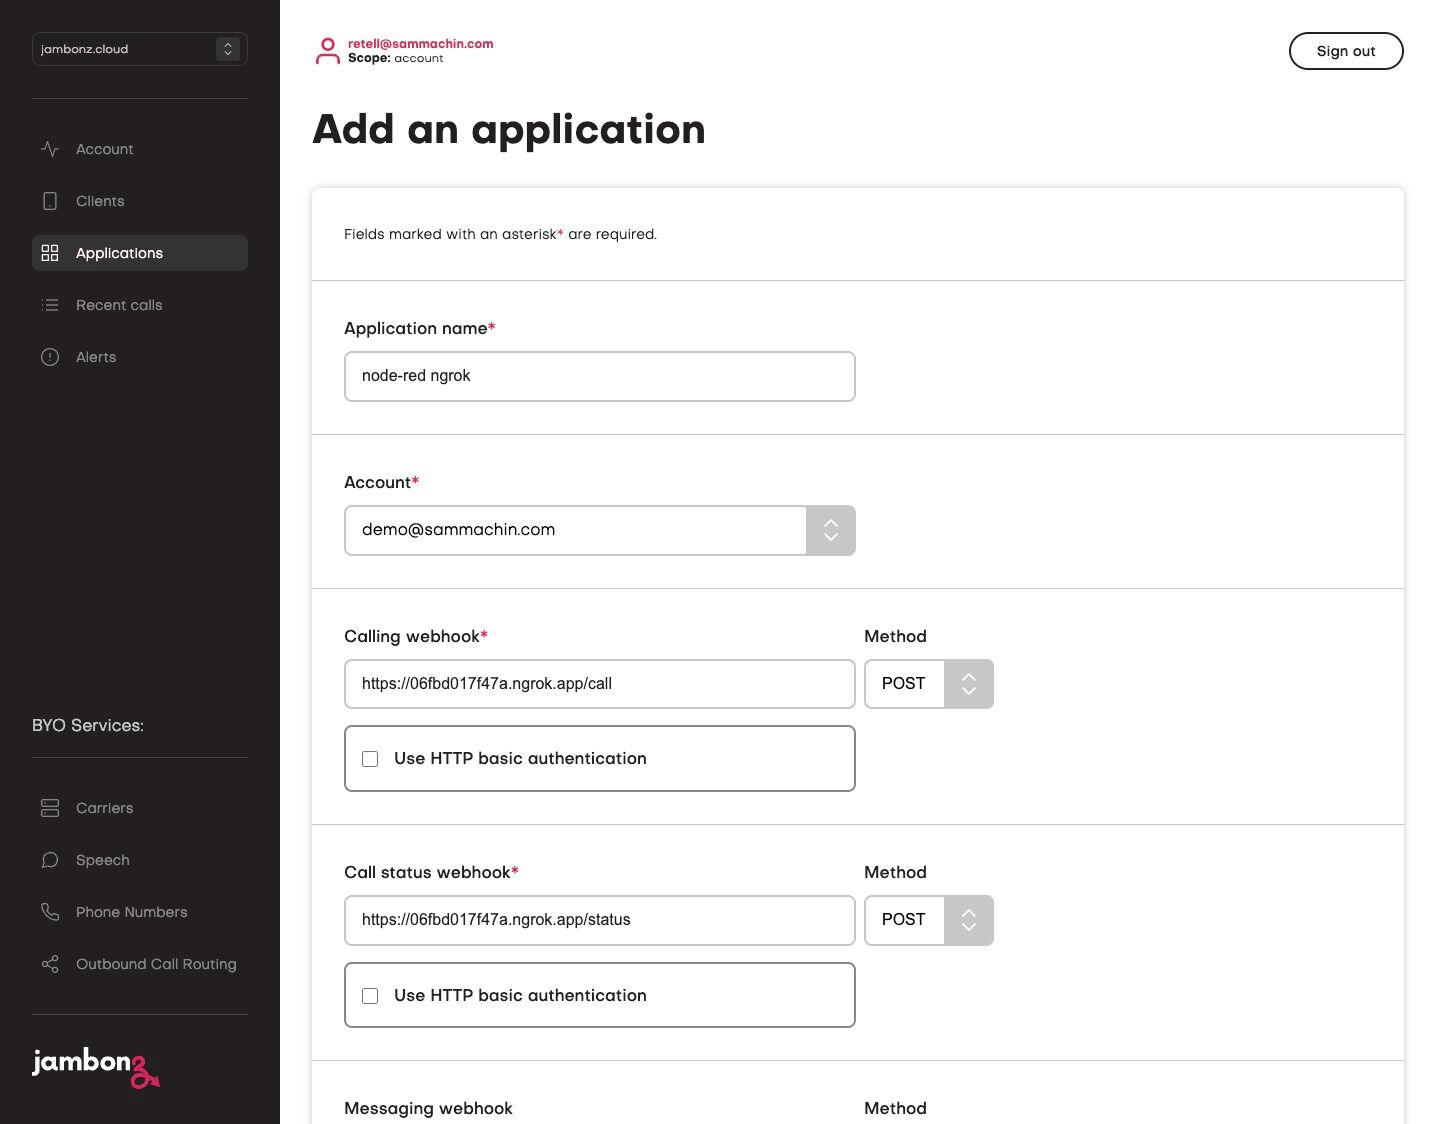
38. Scroll down and click “Save”.
39. Now go to your “Phone Numbers”.
40. Click on your configured phone number to edit it.
41. Click the “Application” field.
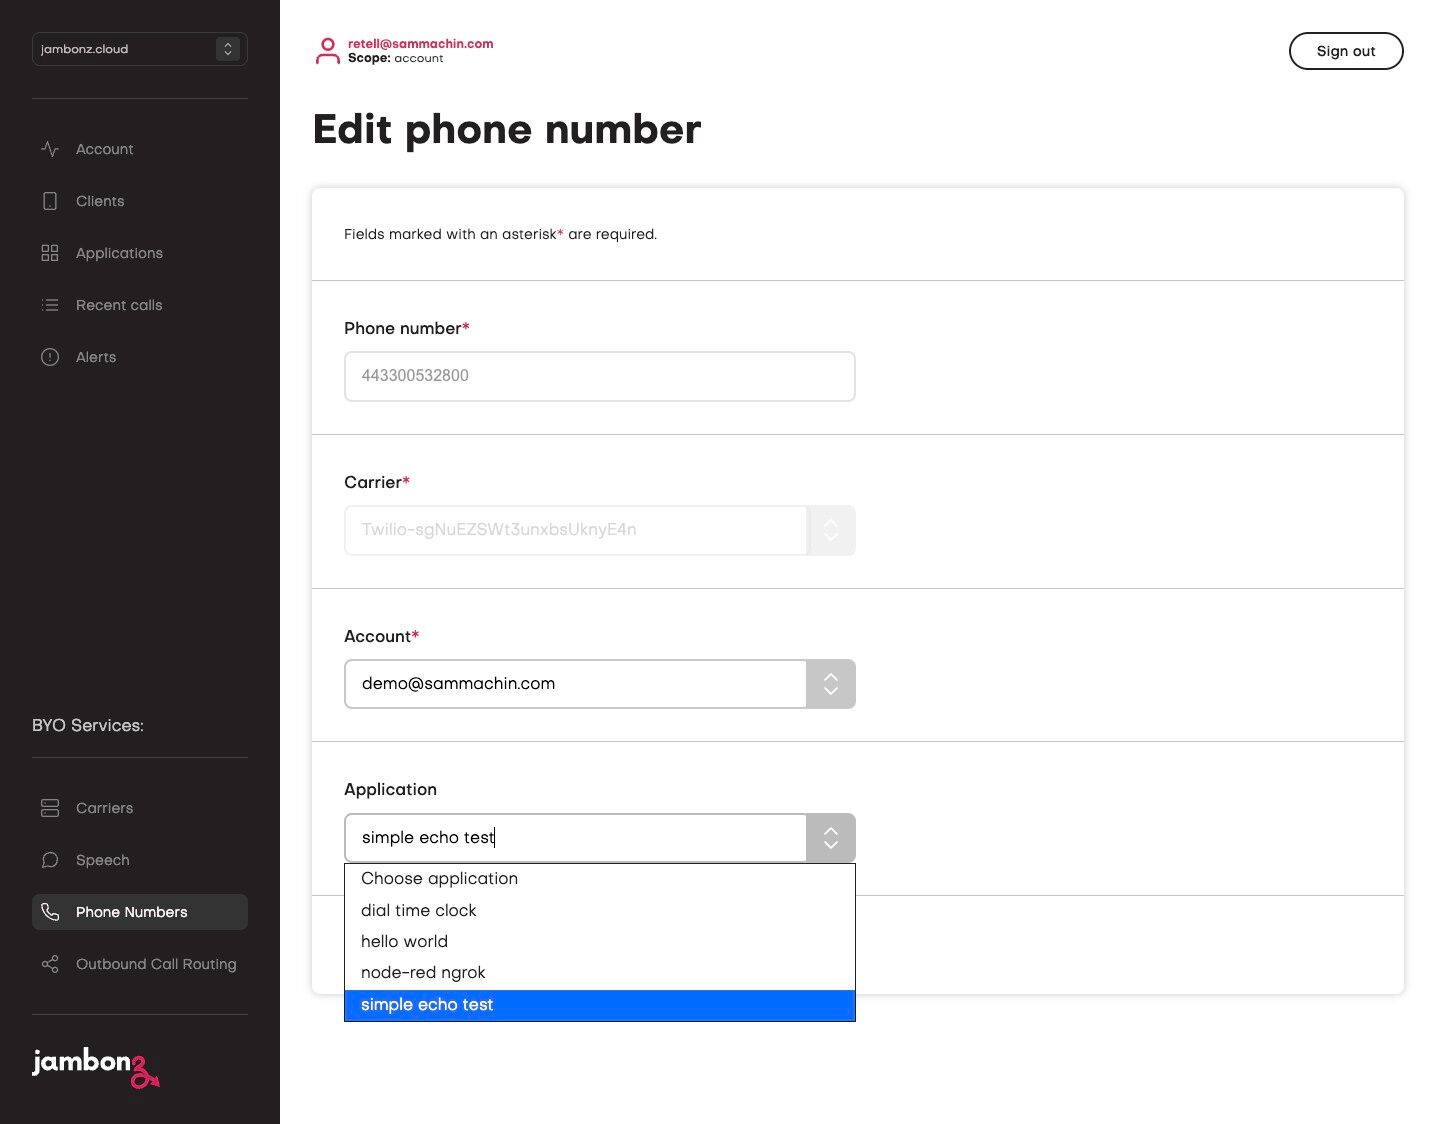
42. Select your new application, “node-red ngrok”.
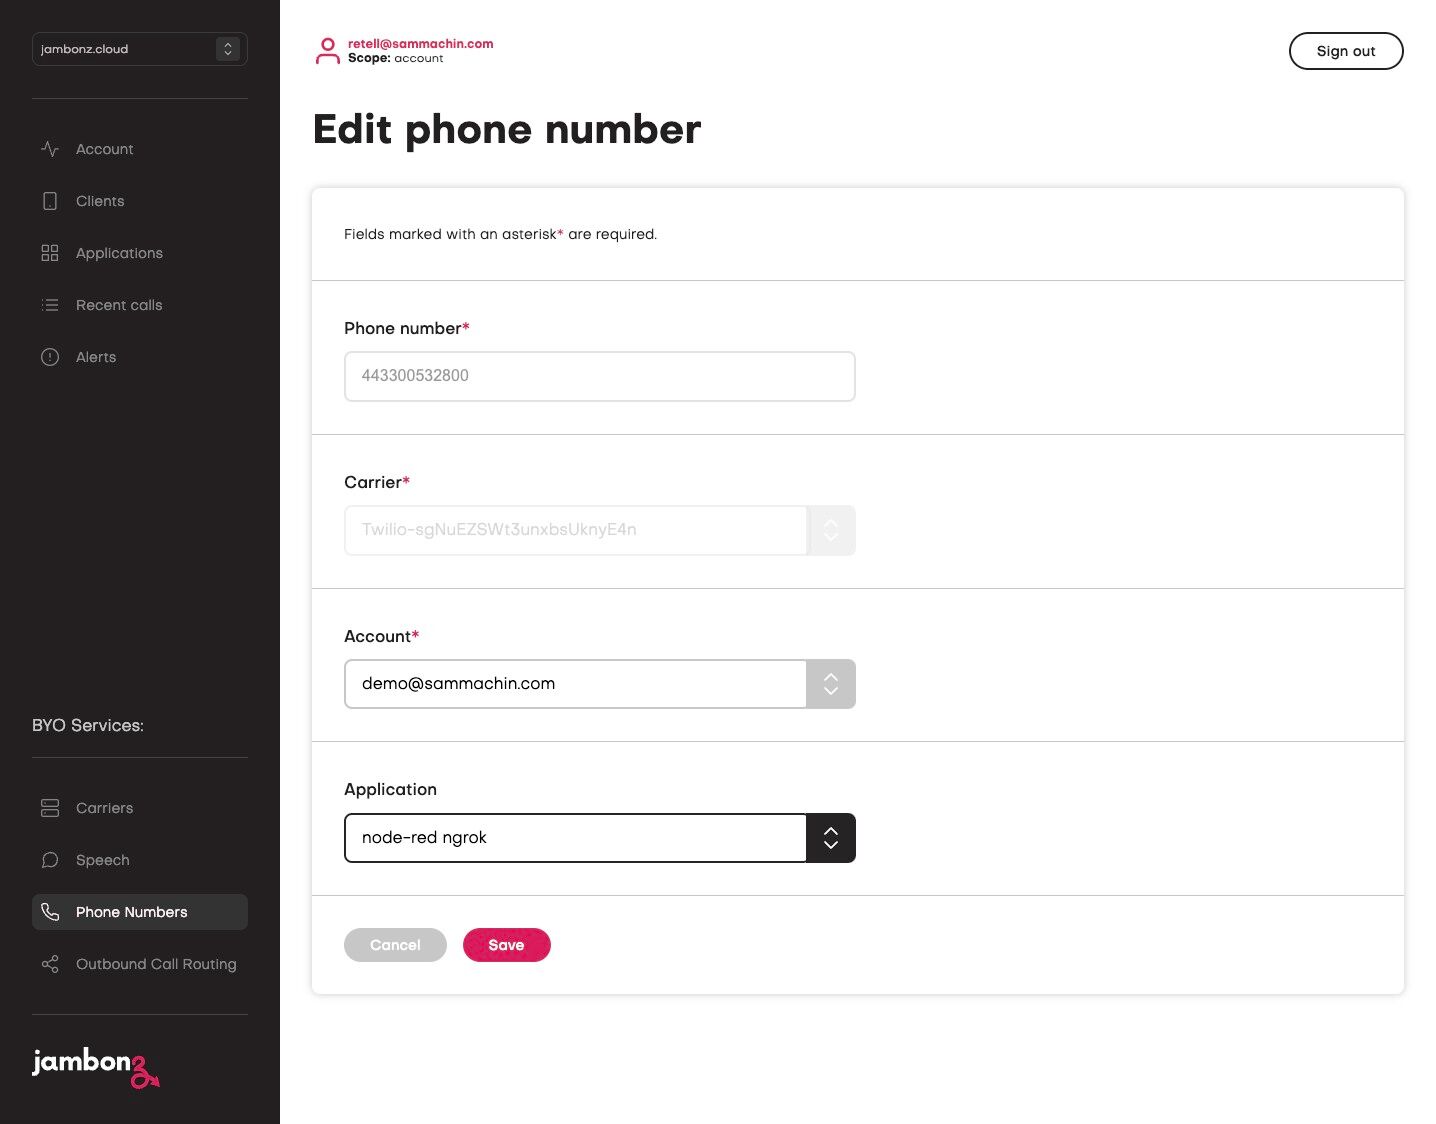
43. Click “Save”.
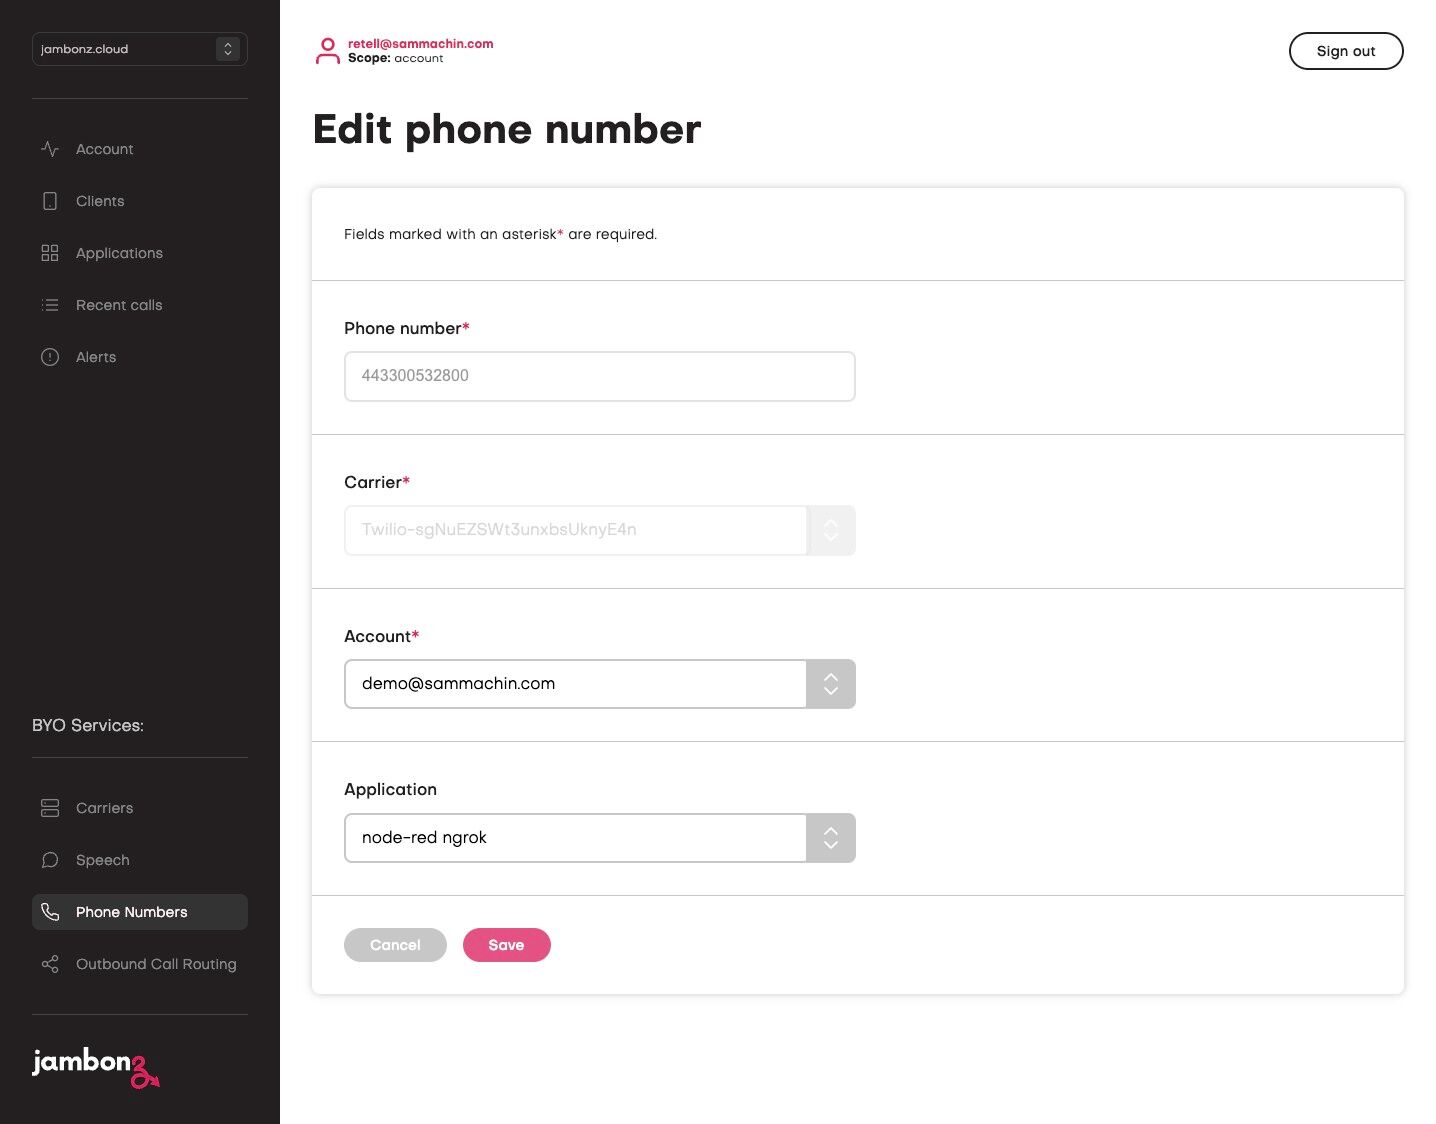
44. If you now call your number, you will hear the text configured in the say node.